

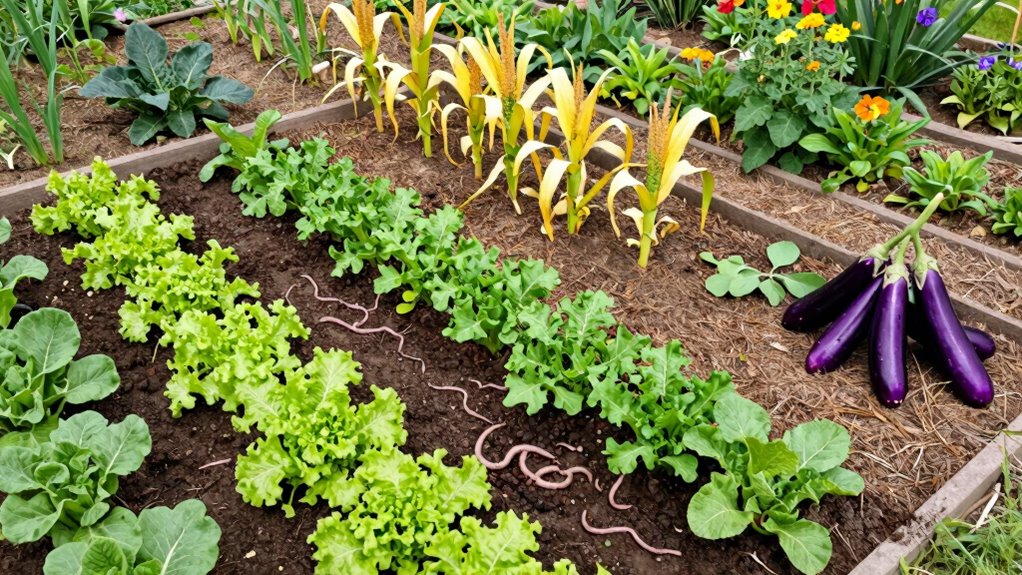
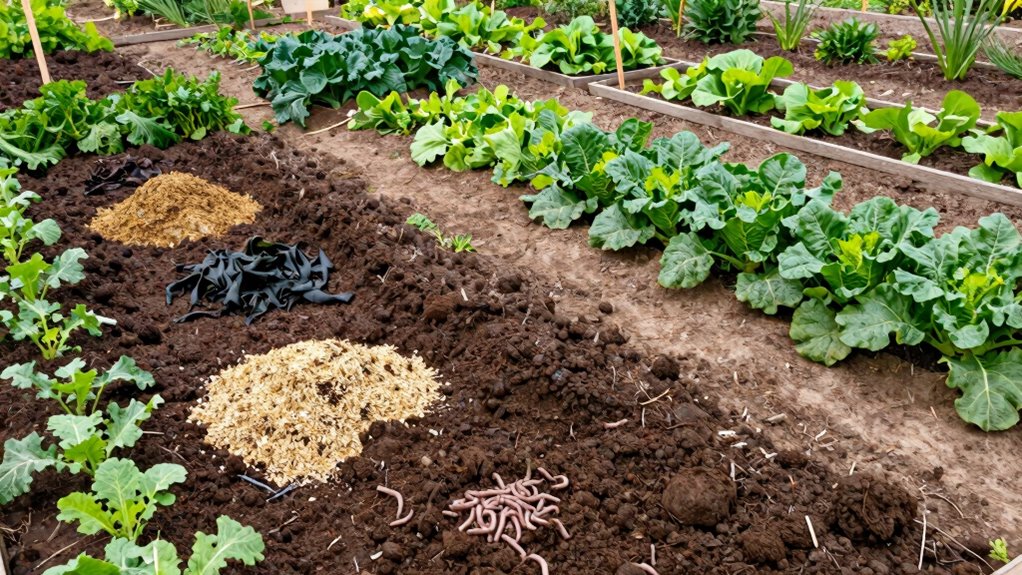
You can transform poor soil into thriving garden beds through simple, natural methods. You’ll discover how compost, mulch, and crop rotation work together to rebuild soil structure and fertility. These techniques mimic nature’s own processes, creating lasting improvements without expensive chemicals. What specific soil problems are you facing that these methods might solve?
Improve Soil Naturally With Compost
When you incorporate compost into poor garden soil, you’re introducing a complex matrix of decomposed organic matter that fundamentally transforms soil structure and fertility.
You’re adding beneficial microorganisms that break down nutrients into plant-available forms while improving water retention and drainage simultaneously.
Compost increases soil’s cation exchange capacity, allowing it to hold essential minerals longer. You’ll notice improved soil aggregation, reducing compaction and enhancing root penetration.
The pH buffering capacity helps stabilize soil acidity levels naturally. Apply two to four inches of finished compost annually, working it six inches deep into existing beds.
You’re creating thriving soil ecosystems that support robust plant growth. Your garden soil becomes darker, more crumbly, and nutrient-rich.
You’re literally feeding the underground food web that sustains healthy gardens. This natural amendment outperforms synthetic fertilizers long-term.
Test Garden Soil at Home Easily
While you can send soil samples to professional labs for detailed analysis, you can also test your garden soil’s basic properties at home using simple methods that reveal pH levels, drainage capacity, and texture composition.
To test pH, mix soil with distilled water, add baking soda or vinegar – fizzing indicates alkaline or acidic conditions respectively.
For drainage, dig a twelve-inch hole, fill with water, then measure how quickly it drains. Fast drainage means sandy soil, slow drainage suggests clay content.
Assess texture by rubbing moist soil between your fingers – gritty feelings indicate sand, smoothness suggests silt, while sticky textures reveal clay.
These tests help you understand your soil’s characteristics so you can make informed improvements.
Professional testing provides detailed nutrient analysis, but these home methods give you immediate, actionable insights about your garden’s foundation.
Use Mulch to Keep Soil Moist Longer
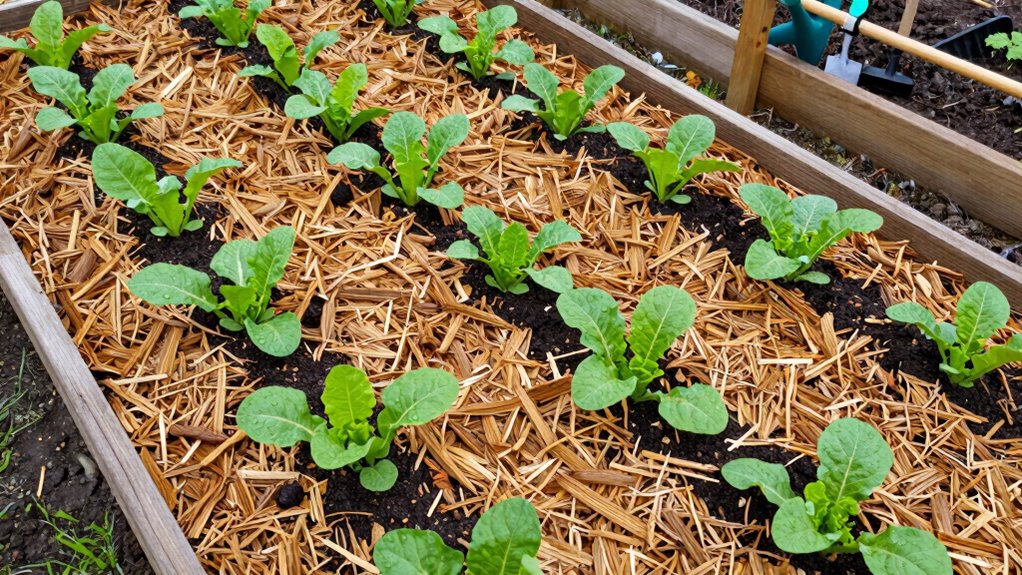
You should apply mulch because it substantially reduces water evaporation from soil surfaces while maintaining consistent moisture levels throughout the root zone.
Organic materials like wood chips, straw, and leaf litter create protective barriers that shield soil from direct sunlight and wind exposure.
These mulch types also break down slowly, adding nutrients back into the soil while improving its structure and water-holding capacity.
Benefits Of Mulch Coverage
Mulch coverage greatly extends soil moisture retention by creating a protective barrier that reduces evaporation rates and maintains consistent moisture levels throughout the root zone.
You’ll notice noticeably less water loss when you apply mulch properly. The protective layer shields soil from direct sunlight and wind exposure, which are primary causes of rapid moisture depletion.
Your plants benefit from this stable environment because roots can access consistent water supplies without stress from fluctuating soil conditions.
Mulch also prevents soil crusting, allowing better water penetration during irrigation or rainfall events.
Temperature regulation becomes another advantage, as mulched soil experiences less extreme temperature swings.
You’re creating ideal growing conditions that support beneficial microbial activity essential for nutrient cycling.
This improved soil environment directly translates to healthier plant development and better garden productivity.
Types Of Organic Mulch
Organic mulches offer diverse options for maintaining soil moisture while providing additional benefits to garden ecosystems.
You should consider shredded leaves, which decompose quickly and improve soil structure. Straw works excellently for vegetable gardens, suppressing weeds while retaining moisture.
Wood chips last longer but may temporarily reduce nitrogen availability as they break down. Grass clippings provide quick coverage but need frequent reapplication.
Compost offers immediate nutrient benefits alongside moisture retention. Bark mulch creates attractive pathways while slowly improving soil chemistry.
You’ll find that each type supports beneficial microorganisms and earthworms. Choose mulches based on your specific plants’ needs and your garden’s aesthetic.
Apply two to four inches厚度 for ideal moisture retention. These organic materials create thriving soil communities that support healthier plant growth naturally.
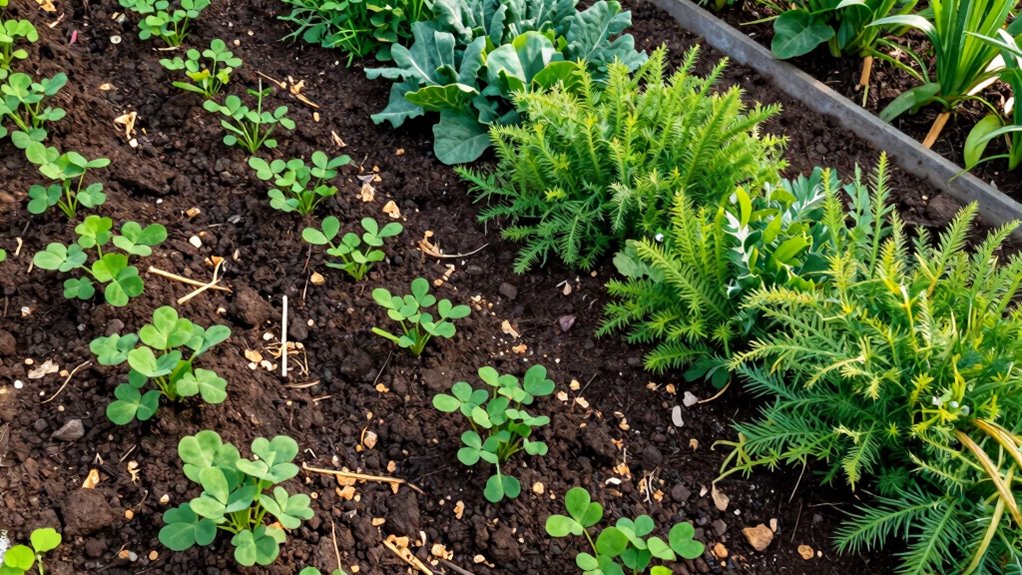
Cover Crops That Revive Dead Soil
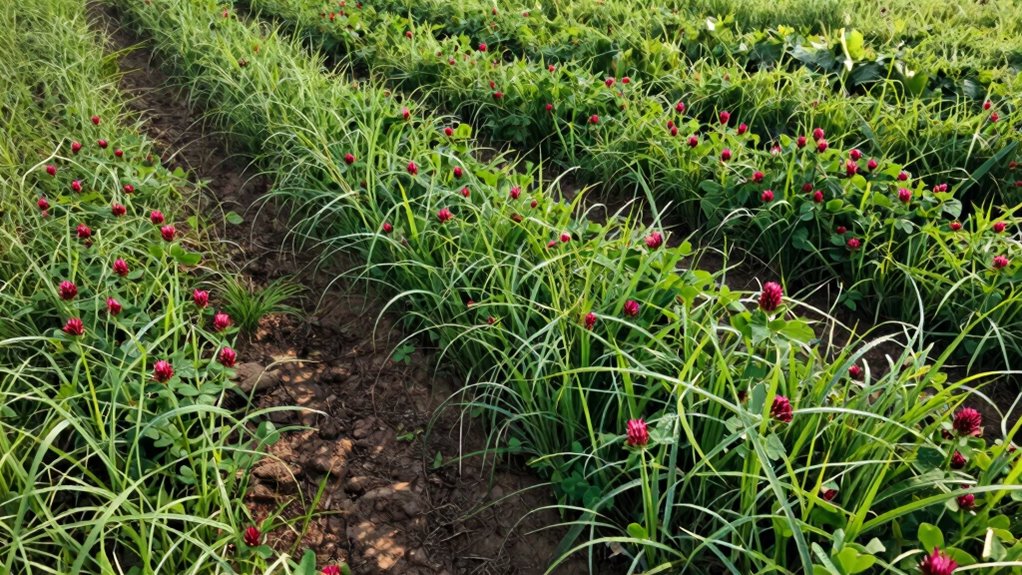
You should plant cover crops like crimson clover and winter rye to rebuild your soil’s structure and nitrogen content naturally.
These plants add organic matter when decomposed and prevent nutrient leaching during off-seasons.
Your soil revival efforts depend on timing these plantings correctly to maximize their beneficial effects.
Best Cover Crops For Soil Revival
While dead or severely depleted soil might seem beyond repair, selecting the right cover crops can dramatically accelerate soil revival within a single growing season.
You should prioritize legumes like crimson clover and field peas for nitrogen fixation, while incorporating deep-rooted options such as daikon radish and alfalfa to break up compacted layers. These plants establish quickly, outcompeting weeds while their root systems create channels for water and air penetration.
Annual ryegrass works excellently for erosion control and organic matter addition. Buckwheat grows rapidly, suppressing weeds while attracting beneficial insects.
You’ll achieve ideal results by mixing complementary species: combine nitrogen-fixing legumes with carbon-rich grasses. Plant these cover crops during appropriate seasons—cool-season varieties like winter rye and hairy vetch work best in fall, while warm-season options including cowpeas and sorghum-sudangrass thrive in summer months.
How Cover Crops Add Nutrients
Although many gardeners overlook the nutrient-adding capabilities of cover crops, these plants actively restore soil fertility through multiple biological processes.
You’ll find that legumes like clover and vetch fix nitrogen directly into soil through root nodules hosting beneficial bacteria. When you till these plants under, their decomposing roots and foliage release nitrogen, phosphorus, and potassium gradually.
Deep-rooted varieties such as daikon radish break up compacted layers while bringing minerals from subsoil to the surface. Buckwheat accumulates phosphorus efficiently, making it available for subsequent crops.
These plants also produce organic matter that feeds soil microorganisms, creating nutrient cycling systems.
You’re fundamentally farming soil fertility when you grow cover crops, transforming dead soil into productive growing medium through natural biological activity.
Timing Cover Crop Planting Right
The timing of cover crop planting determines whether your soil revival efforts succeed or fail. You must plant cover crops when soil temperatures and moisture levels support germination and growth. Consider these critical timing factors:
- Plant cool-season cover crops like clover and rye in early fall after summer harvest.
- Time warm-season varieties such as buckwheat for late spring when soil reaches 60°F.
- Match planting dates to your region’s first and last frost dates for perfect growth.
- Calculate growth periods needed for each species to establish before winter kill.
- Plan succession planting schedules to maintain continuous soil coverage year-round.
You’ll maximize nutrient cycling and soil structure improvements when you align planting timing with each cover crop’s biological requirements and your local climate patterns.
Rotate Crops to Maintain Soil Health
Crop rotation prevents soil depletion by systematically changing plant families in specific garden areas each growing season. You should alternate between heavy feeders like tomatoes and lighter feeders like carrots to maintain nutrient balance.
Legumes, brassicas, and nightshades each demand different minerals, so rotating them prevents specific deficiencies. Keep detailed records of where each family grew previously. Follow heavy feeders with moderate ones, then light feeders. This sequence allows soil recovery while disrupting pest and disease cycles.
You’ll notice improved plant vigor and yields when rotations are consistent. Plan your garden map annually, grouping compatible families together. Root crops benefit from previous legume areas due to increased organic matter. Solanaceous plants often follow brassicas well. Your soil ecosystem thrives with this diversity.
Boost Soil With Nitrogen-Fixing Plants
Because nitrogen-fixing plants form symbiotic relationships with soil bacteria, they naturally enrich your garden’s nutrient content while you grow them. These plants convert atmospheric nitrogen into forms your other crops can readily absorb, fundamentally creating free fertilizer.
You should consider these nitrogen-fixing options for maximum soil improvement:
- Legumes like beans and peas host Rhizobium bacteria in their root nodules
- Clover works excellently as a cover crop between growing seasons
- Alfalfa deeply penetrates soil while adding nitrogen and organic matter
- Lentils and chickpeas provide dual benefits of harvest and soil enrichment
- Annual inoculation of seeds guarantees effective bacterial colonization
Plant these strategically in your rotation to boost nitrogen levels naturally.
You’ll notice improved growth in subsequent crops, creating a self-sustaining garden ecosystem that benefits everyone’s harvest.
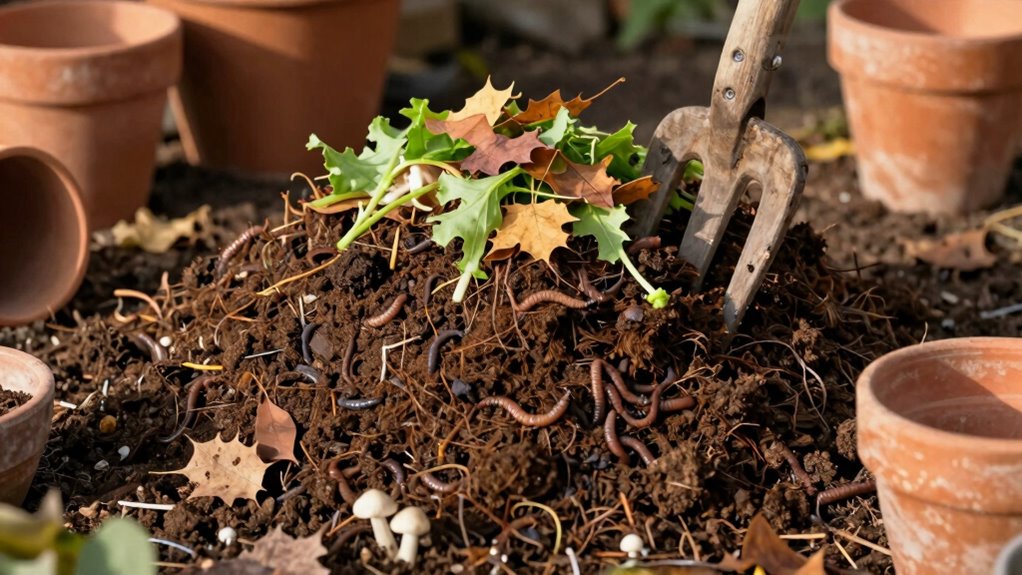
Let Worms Improve Soil Texture
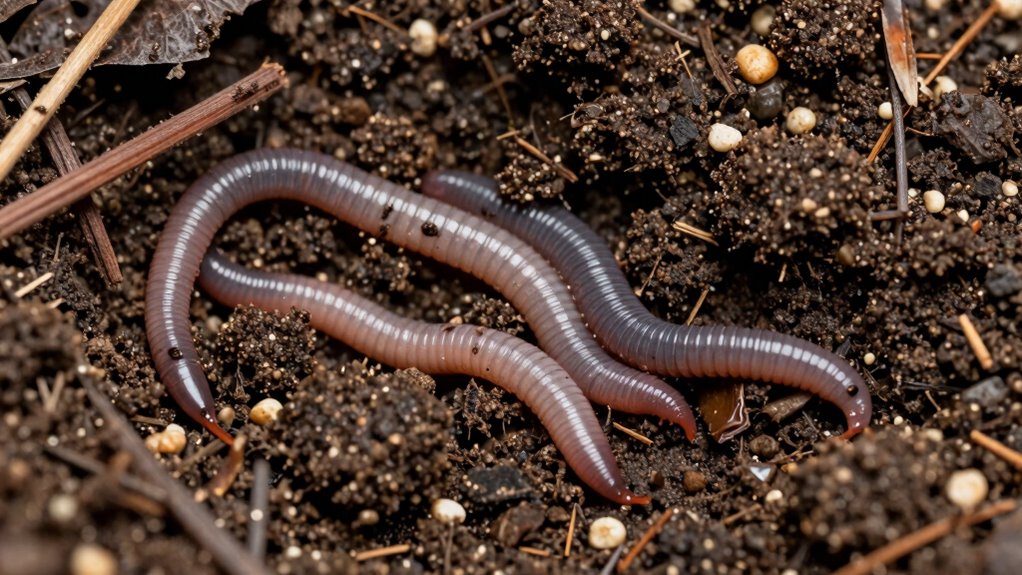
You can considerably enhance your soil structure by introducing earthworms that consume organic matter and produce nutrient-rich castings.
These castings improve soil aggregation, water retention, and aeration while providing essential minerals and beneficial microorganisms.
To maintain healthy worm populations, you’ll need to add organic matter regularly and avoid using chemical pesticides that harm these beneficial creatures.
Benefits Of Worm Castings
Worm castings provide exceptional benefits for improving soil texture through their unique physical and chemical properties.
You’ll discover how these organic materials transform your garden’s foundation when you understand their remarkable qualities.
- Enhanced water retention occurs because castings contain mucus that binds soil particles together while creating microscopic channels for moisture flow.
- Improved nutrient availability happens as beneficial microbes in castings slowly release nitrogen, phosphorus, and potassium into surrounding soil.
- Better soil structure develops when castings act as natural binding agents, preventing compaction while maintaining proper aeration.
- Increased pH buffering protects plant roots from extreme soil acidity or alkalinity through organic compounds that stabilize pH levels.
- Enhanced microbial activity flourishes because castings introduce diverse beneficial bacteria and fungi that support healthy soil ecosystems.
These benefits make worm castings invaluable for gardeners seeking natural soil improvement solutions.
Adding Worms To Soil
While worm castings offer significant soil enhancement benefits, introducing live worms directly into your garden soil provides even more extensive texture improvement through their continuous biological activity.
You’ll discover that earthworms create extensive tunnel networks, aerating compacted soil while their digestive processes break down organic matter into nutrient-rich fragments. Their constant movement through soil layers mixes different textures naturally, improving drainage in clay soils and water retention in sandy areas.
You should introduce red wigglers or nightcrawlers by broadcasting them onto prepared soil during cool, moist conditions.
These worms consume decomposing plant material, transforming it into bioavailable nutrients while simultaneously restructuring soil particles through their physical presence, creating stable aggregates that resist compaction and promote healthy root development throughout your garden ecosystem.
Maintaining Worm Populations
Several key practices guarantee earthworm populations remain robust and continue improving your soil’s physical structure over time.
You must create favorable conditions that encourage worm reproduction and activity throughout your garden beds.
- Maintain consistent moisture levels between 40-60% soil moisture to prevent worms from drying out
- Add organic matter regularly like compost, leaf litter, and kitchen scraps to provide food sources
- Minimize soil disturbance through reduced tilling and avoiding chemical pesticides that harm beneficial organisms
- Create protective habitat with mulch layers and ground cover to shield worms from predators and temperature extremes
- Monitor pH levels keeping soil between 6.0-7.0 pH range for peak worm survival and reproduction
These practices guarantee your worm population thrives while continuously enhancing soil texture through their castings and tunneling activities.
Loosen Hard, Compacted Garden Soil
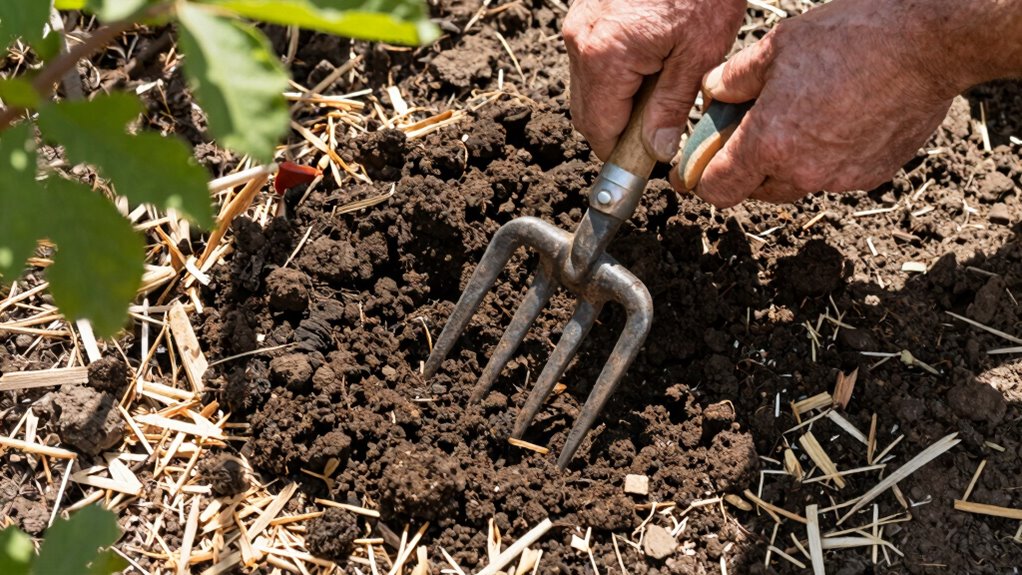
Compact soil creates a barrier to healthy plant growth by restricting root penetration and limiting water and nutrient movement.
You’ll need to physically break up this dense layer to restore your garden’s productivity. Start by using a garden fork or tiller to work the soil when it’s slightly moist, not wet. Pierce the ground every six inches deep, wiggling the tool side to side to create air pockets.
For severe compaction, consider double-digging: remove the topsoil layer, break up the subsoil beneath, then replace the topsoil. Add coarse sand or perlite during this process to maintain improved structure.
Work systematically across your garden bed, ensuring even treatment. This mechanical aeration allows roots to expand freely while improving drainage and microbial activity essential for plant health.
Best Natural Fertilizers for Soil
How do you transform nutrient-depleted soil into a thriving growing medium?
You’ll need to add organic matter that feeds beneficial microorganisms and provides essential nutrients. Natural fertilizers work slower than synthetic alternatives, but they build long-term soil health.
Choose these proven organic amendments:
- Composted manure adds nitrogen, phosphorus, and potassium while improving soil structure
- Bone meal supplies slow-release phosphorus for root development and flowering
- Kelp meal delivers trace minerals and growth hormones that boost plant immunity
- Fish emulsion provides quick nitrogen absorption and beneficial soil bacteria
- Worm castings offer balanced nutrients plus enzymes that enhance nutrient uptake
Apply these amendments based on your soil’s specific deficiencies.
Test your soil regularly to monitor improvements in fertility and organic matter content.
Adjust Soil pH Without Chemicals
You should test your soil’s pH levels first to determine whether it’s too acidic or alkaline for ideal plant growth.
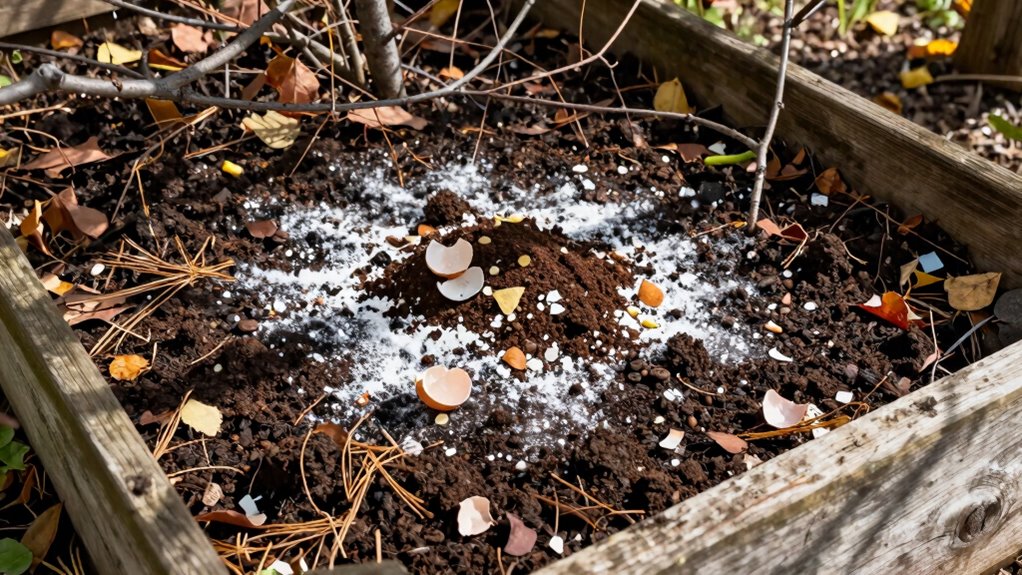
Adding organic matter like compost, aged manure, or leaf mold will naturally buffer extreme pH levels while improving soil structure and nutrient content.
These amendments work gradually but effectively to create a more hospitable environment for beneficial microorganisms and plant root development.
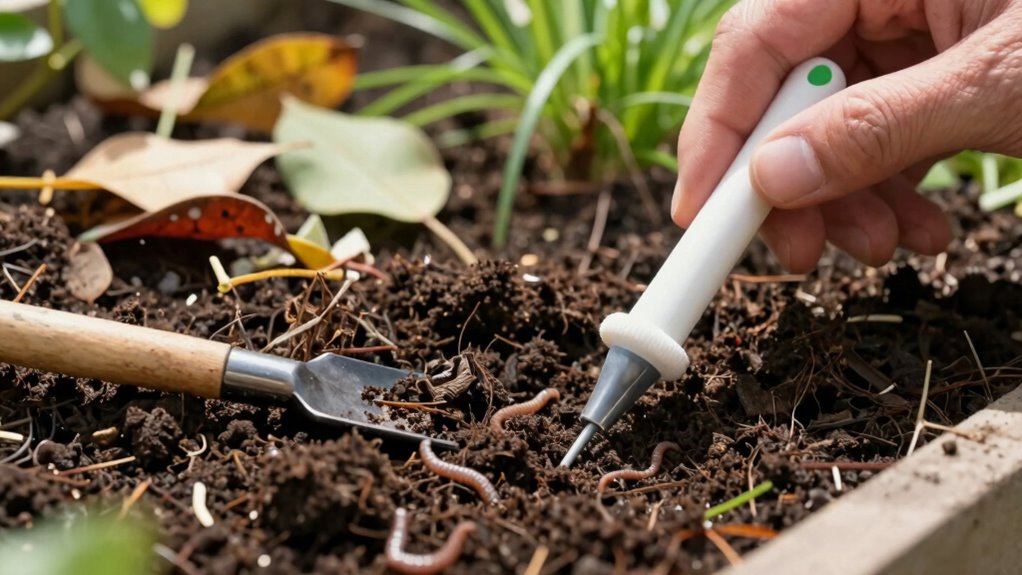
Test Soil PH Levels
Since healthy plants depend on proper soil chemistry, testing your soil’s pH levels becomes crucial before making any amendments. You’ll need accurate readings to determine whether your soil leans acidic, alkaline, or neutral. Most plants thrive in slightly acidic to neutral soil ranging from 6.0 to 7.0 pH levels.
- Purchase a reliable soil test kit from your local garden center for precise home testing.
- Collect samples from multiple locations across your garden bed for representative results.
- Mix samples thoroughly in a clean container before conducting your pH test.
- Test soil when it’s moist but not waterlogged for accurate readings.
- Record results systematically to track changes after implementing pH adjustments.
Understanding your soil’s pH empowers you to create ideal growing conditions naturally. Different plants have specific pH preferences, so testing helps you plan accordingly.
Regular monitoring guarantees your amendments work effectively. You’re joining countless gardeners who test systematically for better harvests.
Add Organic Matter
Adding organic matter to your garden soil provides a natural, effective method for adjusting pH levels without resorting to chemical amendments. You should incorporate compost, well-aged manure, or leaf mold into your soil to gradually lower alkaline pH levels. These materials release organic acids as they decompose, creating a more acidic environment that many plants prefer.
Mix two to four inches of organic matter into your topsoil annually. Avoid using fresh manure, which can burn plant roots and introduce harmful pathogens. You’re better off waiting for complete decomposition. Wood chips, straw, and grass clippings also work well.
Remember that organic matter improves soil structure, water retention, and nutrient availability while naturally buffering pH changes. Your soil’s microbial activity increases, creating a healthier ecosystem. Test your pH regularly to monitor improvements. You’ll notice better plant growth and vigor as your soil chemistry balances naturally.
Soil organisms break down organic materials slowly, providing sustained pH adjustment. This approach builds long-term soil health rather than creating temporary fixes. You’re creating living soil that supports robust plant development.
Prevent Soil Depletion Over Time
While garden soil naturally loses nutrients through plant uptake and leaching, preventing depletion requires understanding how organic matter decomposition and crop harvesting gradually strip essential minerals from your growing medium.
You must actively replenish what plants remove to maintain soil fertility.
- Rotate crop families annually to prevent specific nutrient depletion patterns
- Plant nitrogen-fixing legumes like beans and peas to naturally restore soil nitrogen
- Leave crop residues and roots in place after harvest to decompose and return nutrients
- Apply compost or well-aged manure regularly to replace extracted minerals
- Mulch bare soil surfaces to reduce nutrient leaching from heavy rains
These practices guarantee your garden soil maintains its nutritional balance naturally.
Stop Tilling to Save Soil Life
Tilling disrupts the complex network of beneficial microorganisms, earthworms, and fungal mycorrhizae that maintain healthy soil structure and nutrient cycling.
You destroy years of ecosystem development in minutes, breaking apart delicate fungal networks that plants depend on for water and nutrients. Earthworms flee the disturbance, taking their nutrient-rich castings elsewhere.
Instead, adopt no-till methods that preserve this underground community. Layer compost, mulch, and organic matter on top rather than mixing them in.
You’ll notice improved soil aggregation, better water retention, and increased biological activity within seasons. Your garden becomes part of nature’s system, not fighting against it.
The soil food web flourishes when you stop disrupting it, creating healthier plants and reducing your workload while building genuine garden ecosystem health.
Essential Soil Amendments for Growth
Although your soil’s structure may be compromised, you can restore its fertility through targeted amendments that address specific deficiencies.
You’ll need to identify your soil’s unique needs before adding supplements.
Essential amendments include:
- Compost for organic matter and beneficial microbes
- Aged manure to boost nitrogen and phosphorus levels
- Lime for raising pH in acidic soils
- Sulfur to lower pH in alkaline conditions
- Bone meal for slow-release phosphorus
You should test your soil’s pH and nutrient levels first.
Apply amendments based on results, mixing them into the top six inches.
These targeted improvements create ideal growing conditions while maintaining soil biology.
Your plants will respond with improved growth and yields when you address specific deficiencies systematically.
Fix Waterlogged Garden Beds Naturally
When your garden beds become waterlogged, you’ll need to address both drainage and soil structure to restore healthy growing conditions.
Start by creating drainage channels or French drains to redirect excess water away from problem areas. You should also incorporate coarse sand, perlite, or gravel into the topsoil to improve permeability.
Adding organic matter like compost helps break up heavy clay particles that contribute to poor drainage. Consider planting water-loving cover crops such as buckwheat or clover to absorb excess moisture while improving soil biology.
Raised beds offer another effective solution by elevating plant roots above waterlogged zones.
Test your soil’s drainage by digging a twelve-inch hole and filling it with water. If drainage remains slow after these interventions, you’ll need to reassess your garden’s overall water management strategy.
Conclusion
You can transform poor garden soil naturally by incorporating compost, testing pH levels, and using organic mulch. Consider that 90% of healthy soil consists of living organisms that support plant growth. Cover crops like clover add nitrogen naturally, while crop rotation prevents nutrient depletion. Avoid excessive tilling to preserve beneficial soil structure and microorganisms essential for long-term garden success.
