

You can handle several common plumbing issues without calling a professional. Fixing a leaky faucet, unclogging drains, and stopping a running toilet are straightforward tasks. These problems often require basic tools and simple techniques. You’ll save money and gain confidence with each repair. Want to know the exact steps for each fix?
Fix a Leaky Faucet in 5 Easy Steps
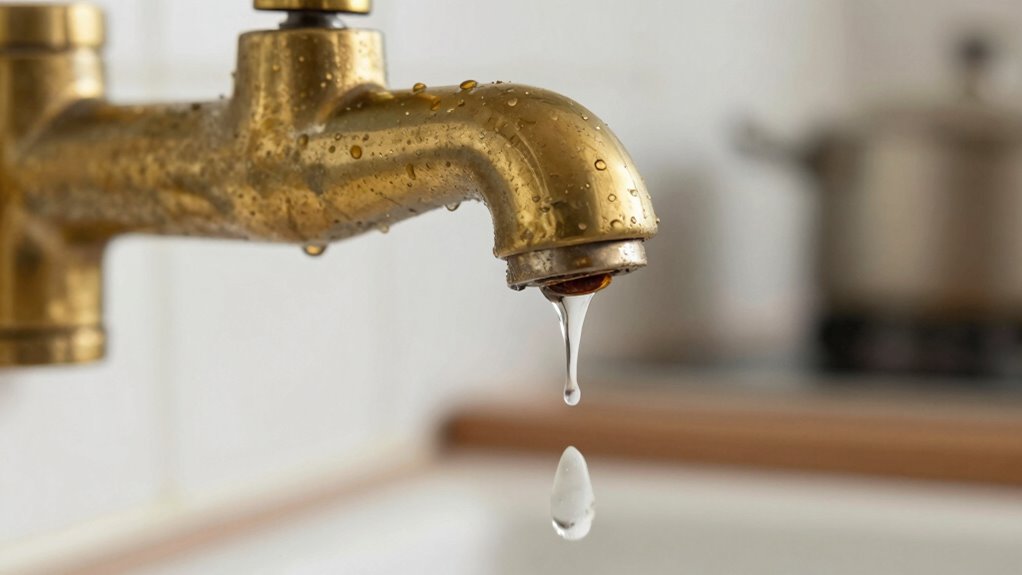
A leaky faucet wastes thousands of gallons of water annually and can greatly increase utility bills. You’ll need an adjustable wrench, screwdriver, and replacement parts specific to your faucet model.
First, turn off the water supply valves beneath the sink.
Second, remove the faucet handle by unscrewing the decorative cap and loosening the handle screw.
Third, detach the packing nut and lift out the stem assembly.
Fourth, examine the O-rings and washers for wear, then replace any damaged components with exact matches from your hardware store.
Fifth, reassemble everything in reverse order, ensuring all connections are snug but not overtightened.
Test your repair by slowly turning the water supply back on and checking for leaks.
Unclog Your Sink or Tub Without a Plumber
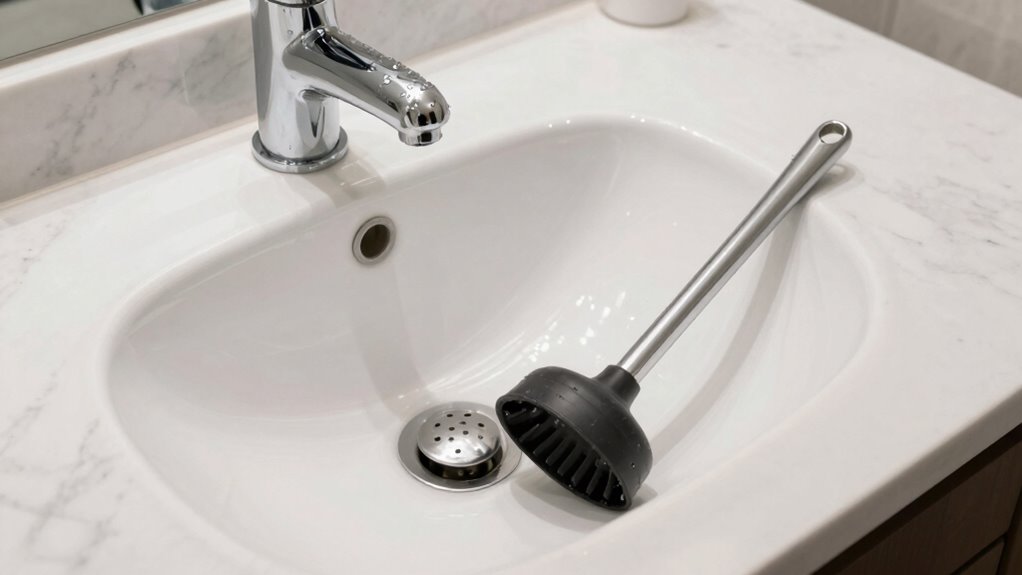
Why shouldn’t you call a plumber for every clogged drain when you can resolve most blockages yourself?
Start by removing standing water with a bucket. Use a plunger with a tight seal around the drain, pumping vigorously fifteen times. If that fails, try a drain snake or wire hanger to physically remove hair and debris.
Pour boiling water down the drain to dissolve grease buildup. For stubborn clogs, mix baking soda and vinegar, let it sit twenty minutes, then flush with hot water.
Check your P-trap under the sink for visible blockages you can remove manually.
These methods work for most household clogs. You’ll save money and gain confidence knowing you can handle basic plumbing issues independently.
Stop a Running Toilet Fast
You’ll need to identify which component is causing your toilet to run continuously.
Adjust the fill valve settings first since this is often the quickest fix for water level issues.
Replace any faulty flappers, flush valves, or fill valves that don’t seal properly.
Identify The Problem Area
When your toilet runs continuously, the problem typically lies within the tank’s internal components rather than the bowl or supply line.
You need to identify which part is causing the issue before making repairs.
- Check the flapper valve – Lift the tank lid and observe if water flows continuously into the overflow tube. A worn or misaligned flapper causes most running toilet problems.
- Inspect the chain connection – Examine the chain linking the flapper to the flush handle. Too much slack or a tangled chain prevents proper sealing.
- Examine the float mechanism – Watch the float’s movement during flushing. An improperly adjusted float causes water level issues that lead to continuous running.
Adjust Fill Valve Settings
After identifying the internal tank components responsible for your toilet’s continuous running, adjusting the fill valve settings often provides the fastest solution.
You’ll need to locate the fill valve, typically the tall plastic mechanism on the left side of the tank. Check the float arm position first. If it’s set too high, water continuously overflows into the overflow tube. Bend the float arm downward slightly to lower the water level.
For adjustable fill valves, turn the adjustment screw counterclockwise to reduce water flow. Test your adjustments by flushing and observing the refill cycle. The water should stop filling once it reaches about one inch below the overflow tube.
Make small adjustments until the running stops completely.
Replace Faulty Components
If adjusting the fill valve settings doesn’t resolve your toilet’s continuous running, replacing faulty internal components becomes necessary. You’ll need to identify which part is causing the problem.
- Flapper replacement: Turn off water supply, flush toilet, remove old flapper chain, install new flapper by attaching hooks to overflow tube, reconnect chain with slight slack.
- Fill valve replacement: Shut off water, disconnect supply line, unscrew old valve nut, remove valve assembly, install new valve by reversing steps.
- Flush valve repair: Check for cracks or mineral buildup, clean sealing surfaces with vinegar, replace entire flush valve assembly if damaged.
These repairs restore proper toilet function quickly.
Patch Small Leaks With Epoxy Putty
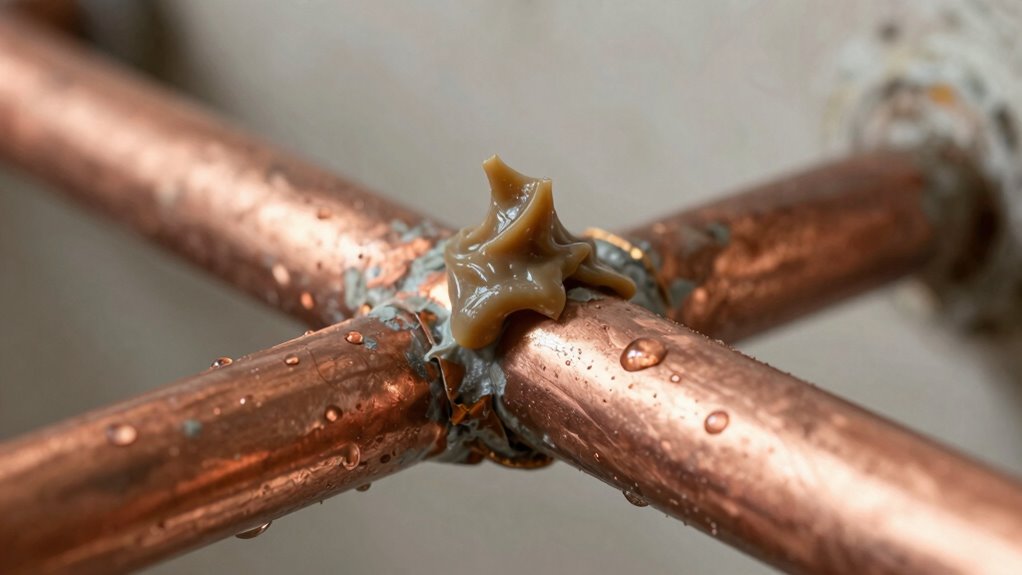
You’ll need to locate small pipe leaks first by drying the area and watching for water droplets or discoloration.
Apply epoxy putty directly to the leak site after cleaning and roughening the surface for better adhesion.
Test your repair by pressurizing the system once the putty cures completely.
Identify Small Pipe Leaks
Small pipe leaks often develop gradually, making them easy to overlook until water damage becomes visible.
You need to catch these issues early to prevent costly repairs and water waste. Developing sharp observation skills helps you identify problems before they escalate.
- Check for moisture spots – Look for damp areas around pipes, especially under sinks and near joints where leaks commonly occur.
- Monitor water bills – Sudden increases in water usage often indicate hidden leaks somewhere in your plumbing system.
- Listen for dripping sounds – Pay attention to unusual water sounds coming from walls or behind appliances during quiet moments.
Regular inspection routines help you stay ahead of plumbing issues.
Trust your instincts when something seems off.
Apply Epoxy Putty Correctly
Epoxy putty provides a temporary fix for small pipe leaks when applied correctly.
First, shut off water supply and drain remaining water from pipes. Clean leak area thoroughly with sandpaper or steel wool to remove corrosion and debris. Dry surface completely with clean cloth.
Knead epoxy putty stick according to package directions until uniform color appears. Apply putty directly over leak, pressing firmly to guarantee proper adhesion.
Spread material evenly around damaged area, creating smooth seal. Work quickly since epoxy begins curing immediately. Cover entire leak perimeter with quarter-inch thick layer. Press edges firmly against pipe surface.
Allow sufficient curing time before reactivating water supply. This temporary repair buys time until permanent professional fix.
Test Repair After Curing
Once the epoxy putty has fully cured according to manufacturer specifications, test the repair by slowly turning on the water supply and carefully inspecting the patched area for any signs of leakage. You should monitor the repair under normal water pressure conditions.
- Visual inspection – Look for water droplets, moisture, or discoloration around the patched area while water flows through the pipe.
- Pressure testing – Gradually increase water pressure to normal operating levels and observe if the epoxy putty holds without deforming or separating.
- Long-term monitoring – Check the repair periodically over several days to verify the epoxy maintains its seal integrity under varying temperature conditions.
If you detect any leakage, drain the system completely, roughen the surface with sandpaper, and apply a fresh epoxy putty layer following proper preparation techniques.
Your repair success depends on thorough testing.
Clear a Toilet Blockage Without a Snake
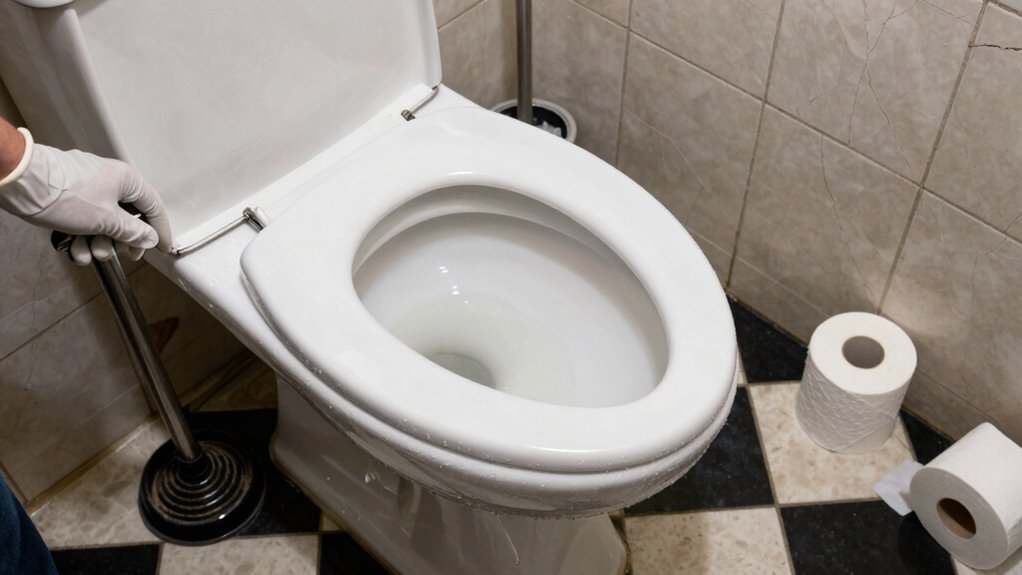
When a toilet becomes blocked and you don’t have a plumbing snake available, you can effectively clear the obstruction using several alternative methods.
Start by using a plunger with a flange designed for toilets. Create a tight seal around the drain hole and pump vigorously fifteen to twenty times.
If plunging fails, try pouring hot (not boiling) water directly into the bowl from waist height to dislodge the clog.
A wire coat hanger bent into a hook shape can also retrieve obstructions you can reach.
Chemical drain cleaners work quickly but use them sparingly since they’re harsh on pipes.
Remember that toilet paper and human waste typically cause most blockages, so avoid flushing non-biodegradable items.
You’re not alone in dealing with this common household issue.
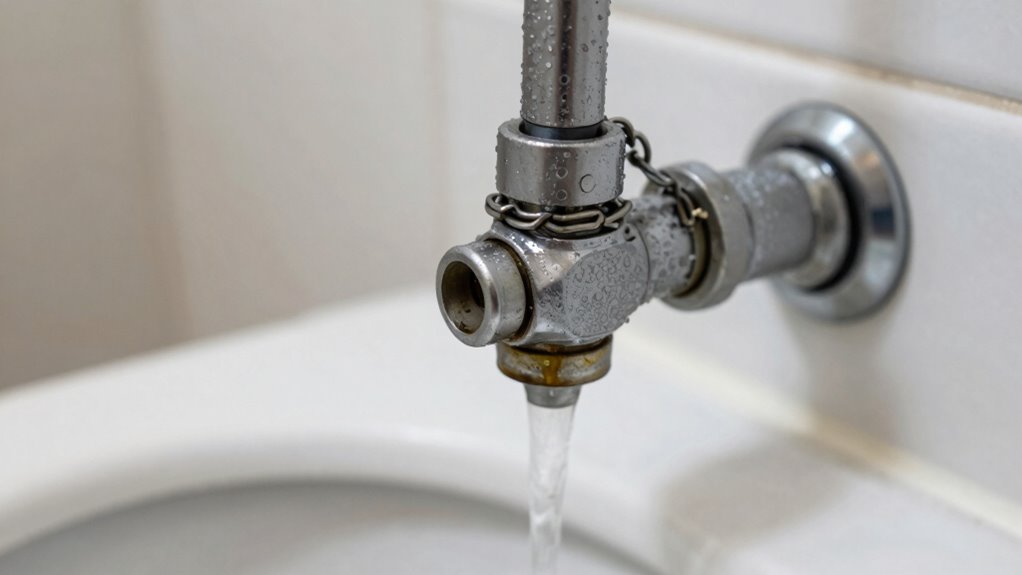
Fix Weak or Strong Water Pressure
Low water pressure can frustrate daily tasks like showering and washing dishes, while high pressure risks damaging pipes and fixtures.
You can adjust your home’s water pressure using these methods:
- Locate your pressure-reducing valve – Find the cone-shaped valve where the main water line enters your home. Turn the adjustment screw clockwise to increase pressure or counterclockwise to decrease it.
- Clean aerators and showerheads – Remove mineral buildup by soaking these fixtures in vinegar for several hours, then scrubbing with a brush to restore proper flow.
- Check for leaks – Inspect visible pipes, connections, and fixtures for dripping or moisture that could indicate pressure issues requiring professional attention.
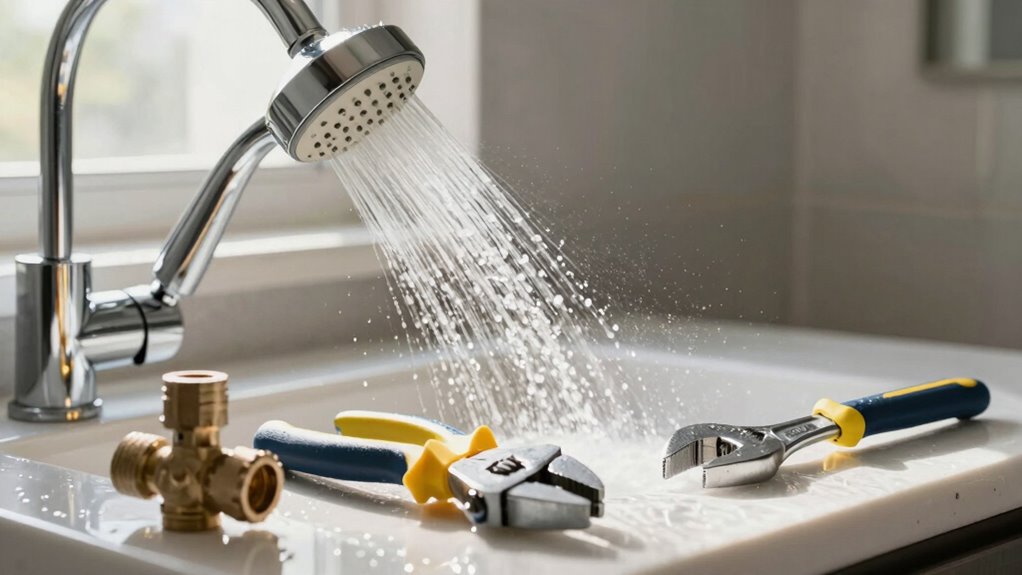
Swap Out Old Showerheads or Faucets Easily

While replacing outdated showerheads and faucets might seem challenging, you can complete these upgrades efficiently with basic tools. Turn off water supply valves before beginning any work.
Remove old fixtures by unscrewing connections counterclockwise with adjustable wrenches. Clean pipe threads thoroughly before installing new components. Apply plumber’s tape to male threads for secure sealing.
Hand-tighten new fixtures first, then use wrenches for final snugness without over-tightening. Test connections by turning water supply back on gradually. Check for leaks around all joints.
Modern fixtures often include rubber washers that create watertight seals automatically. You’ll improve water efficiency and update your bathroom’s appearance simultaneously.
These simple replacements boost your home’s value while giving you confidence in basic plumbing maintenance skills that every homeowner should master.
Conclusion
You’ve got this! These common plumbing issues don’t require a professional’s touch—they’re simply puzzles waiting for your solution. With basic tools and newfound knowledge, you’re empowered to tackle leaky faucets, clogged drains, and running toilets like a seasoned pro. Don’t let minor plumbing problems drain your wallet or peace of mind. Take control, save money, and transform from homeowner to household plumber extraordinaire. Your confidence will flow as freely as your newly fixed pipes.
