

You’re trying to trim your rose bushes with dull pruners and struggling to make clean cuts. Instead of fighting with your tools, you could be working efficiently with properly sharpened blades. Most gardeners don’t realize how much time they waste with dull tools or how much damage they cause to their plants. Learning the right sharpening technique will transform your gardening experience immediately.
Why Sharp Garden Tools Matter
Sharp garden tools make all the difference in your gardening efficiency and plant health.
You’ll notice immediate improvements when you use properly sharpened shears, pruners, and blades. Your plants respond better because clean cuts heal faster and resist disease. You work faster too, spending less time struggling with dull tools that tear instead of slice. Your hands thank you for reduced strain and fatigue.
Sharp tools also last longer since you’re not forcing them through tough stems and branches. You become part of the gardening community that values precision and care.
Everyone notices the difference between a novice with dull tools and an experienced gardener with sharp, well-maintained equipment. Your garden reflects your commitment to quality work.
Which Garden Tools Need Regular Sharpening?
While you might assume that all garden tools require the same sharpening attention, different tools demand varying levels of maintenance to perform at their best.
You’ll want to focus your sharpening efforts on tools with cutting edges that directly impact plant health and your gardening efficiency.
Here are the four essential tools that need regular sharpening:
- Pruning shears – Cut through stems cleanly without crushing plant tissue
- Loppers – Maintain sharp blades for slicing through thicker branches smoothly
- Hand saws – Keep teeth sharp for clean cuts through wood and tough stems
- Hoes – Preserve cutting edge for slicing weeds cleanly at the root
These tools form your core sharpening routine.
Regular maintenance prevents plant damage and makes your work easier.
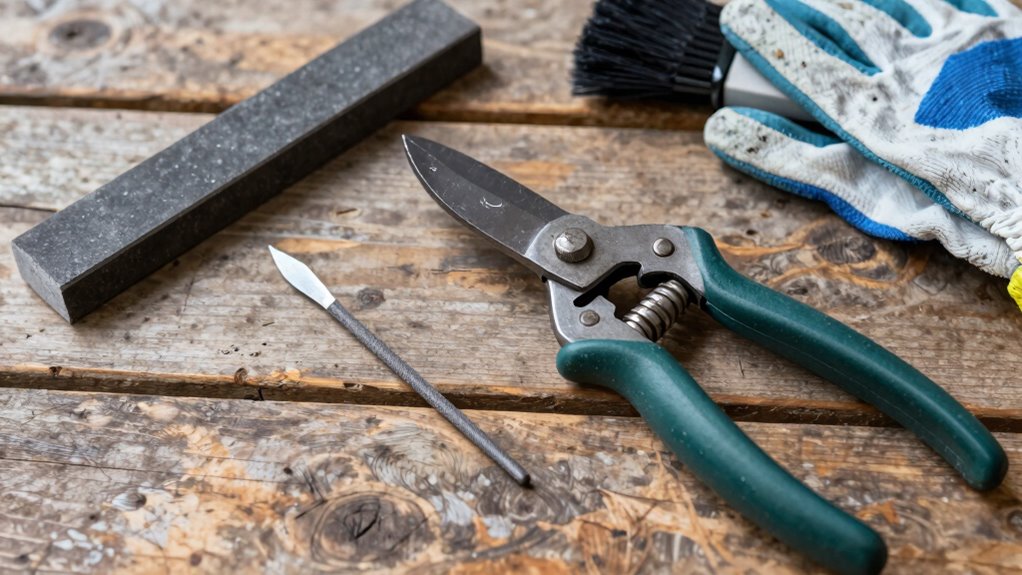
Must-Have Sharpening Tools by Tool Type
You’ll need specific sharpening tools for each type of garden implement to achieve the best results.
For hand pruners and shears, grab a quality sharpening stone or diamond file. Keep your bypass pruners sharp with a small triangular file that fits between the blades.
Hedge shears require a flat mill file for their long, straight edges. Use a round file for curved scythe blades and sickles.
Pocket knives and small blades work best with whetstones or honing rods.
For larger tools like axes and machetes, choose a coarse grinding stone or bench grinder. Keep your shovel edges sharp with a bastard file or angle grinder.
Store all sharpening tools together so you’re always prepared. Having the right sharpener makes quick work of dull edges.
Do Your Tools Need Sharpening?
How often do you check your garden tools for dullness? Keeping sharp tools isn’t just about better cuts—it’s about protecting your plants and making gardening easier. Dull blades tear rather than slice, damaging stems and creating entry points for disease.
You’ll know your tools need attention when cuts feel rough or require excessive force.
Here’s how to spot dullness early:
- Visual inspection – Look for nicks, burrs, or rounded edges on blade surfaces.
- Cutting test – Try slicing through paper or cardboard; sharp tools cut cleanly.
- Feel test – Run your finger lightly along the edge to detect rough spots.
- Performance check – Notice if cutting requires more pressure than usual.
Regular checks prevent major sharpening sessions later.
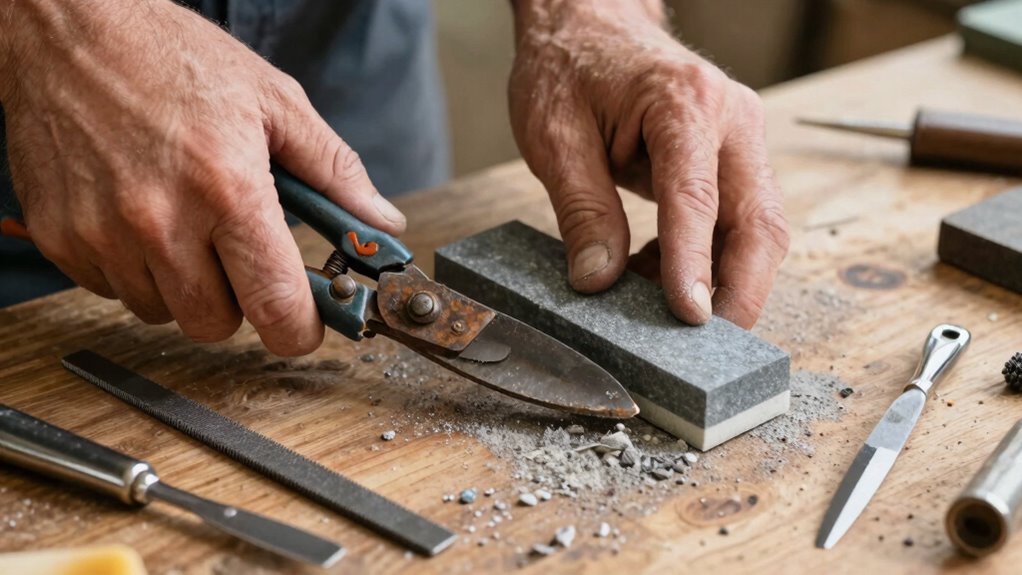
Step-by-Step: Sharpen Pruners and Loppers
You’ll need to clean your pruners and loppers thoroughly before sharpening to remove any dirt or debris that could interfere with the process.
Select the proper sharpening angle—typically 20-25 degrees for most pruning tools—to maintain their original factory edge.
Test the sharpness carefully after each stroke to avoid over-sharpening and damaging the blade’s temper.
Clean Tools Thoroughly
Before sharpening pruners and loppers, clean them thoroughly to remove dirt, sap, and debris. A clean surface guarantees effective sharpening and prevents contaminants from interfering with your work.
- Remove loose material – Use a wire brush or stiff cloth to scrub away dried soil and plant residue from blades and hinges.
- Soak stubborn sap – Immerse tools in warm, soapy water for ten minutes to soften sticky sap buildup.
- Scrub with steel wool – Work out remaining grime using fine-grade steel wool, focusing on blade edges and pivot points.
- Dry completely – Wipe tools dry with a clean cloth to prevent rust formation before proceeding.
Clean tools cut better and last longer.
You’re not just preparing for sharpening – you’re maintaining tools that help your garden thrive. Proper cleaning shows you care about your craft.
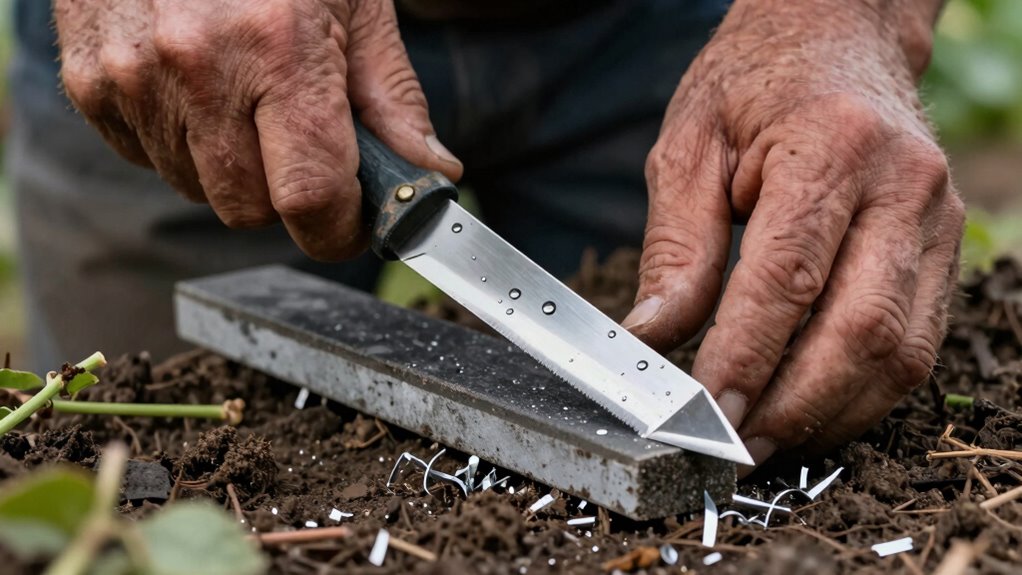
Select Proper Sharpening Angle
While cleaning your pruners and loppers prepares them for sharpening, selecting the proper angle guarantees effective cutting performance.
You should match the original factory angle, typically between 15-25 degrees for most garden tools. Check your tool’s existing bevel to determine the correct angle. For pruners, aim for 20-25 degrees; loppers usually require 15-20 degrees due to their thicker blades.
Hold your sharpening stone or file at this precise angle against the blade’s beveled edge. Maintain consistent pressure and angle throughout the process.
Too steep an angle creates a weak cutting edge that dulls quickly. Too shallow an angle results in a blade that won’t cut effectively. Your tool’s performance depends on getting this angle right. Take time to measure accurately before sharpening.
Test Sharpness Carefully
After sharpening your pruners and loppers, testing the sharpness verifies your tools perform at their best. You need to confirm the edge actually cuts cleanly before returning tools to regular use.
- Paper test: Cut through a piece of paper with your newly sharpened blade. A clean, smooth cut indicates proper sharpness.
- Wood test: Try cutting a small branch or wooden pencil. The tool should slice through without crushing or tearing.
- Visual inspection: Hold the blade up to light and examine the edge. Look for consistent bevel angles and smooth metal surfaces.
- Tactile feedback: Gently run your finger along the bevel side (carefully!) to feel for rough spots or dull areas requiring additional work.
These tests verify your tools are ready for garden tasks.
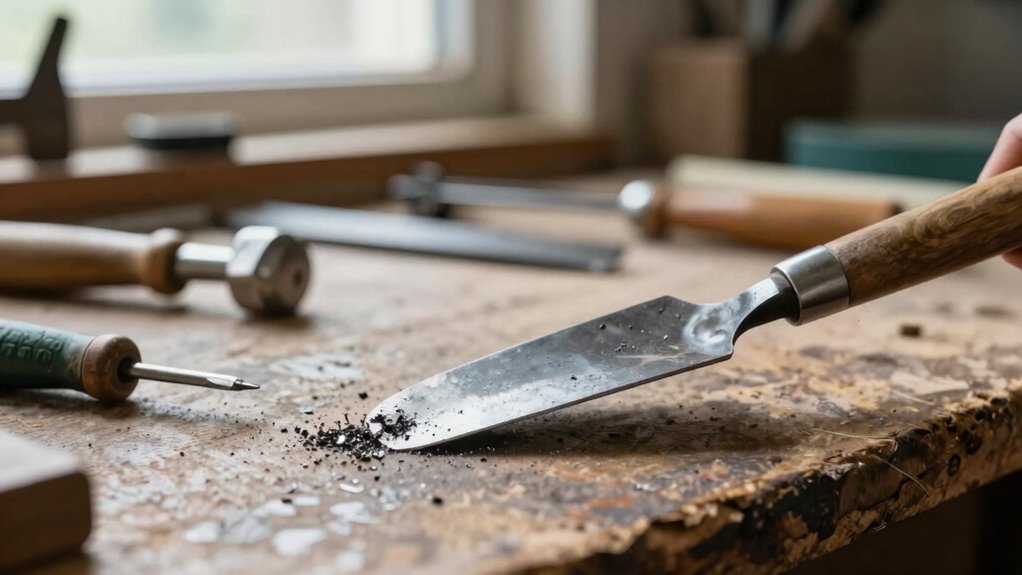
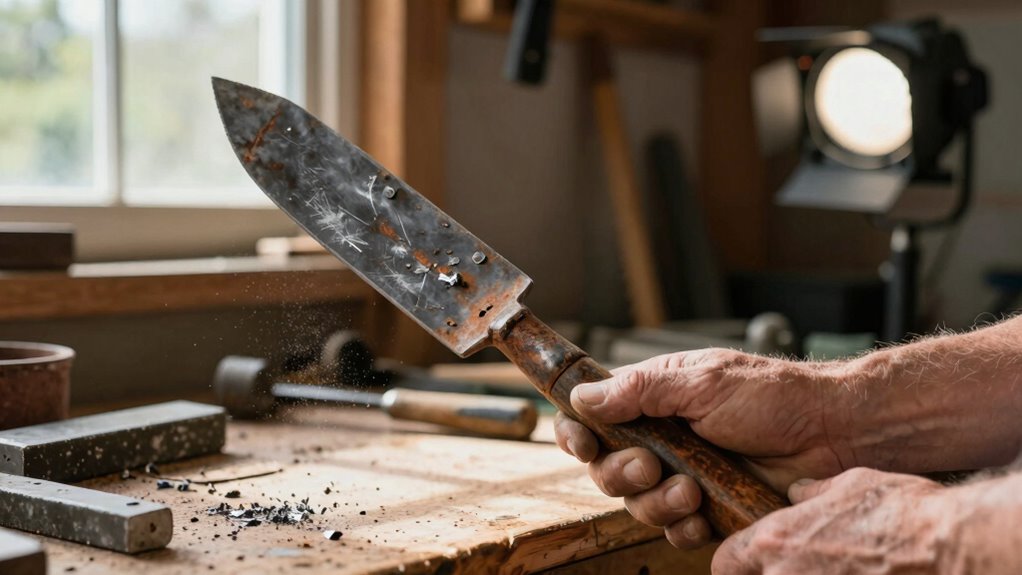
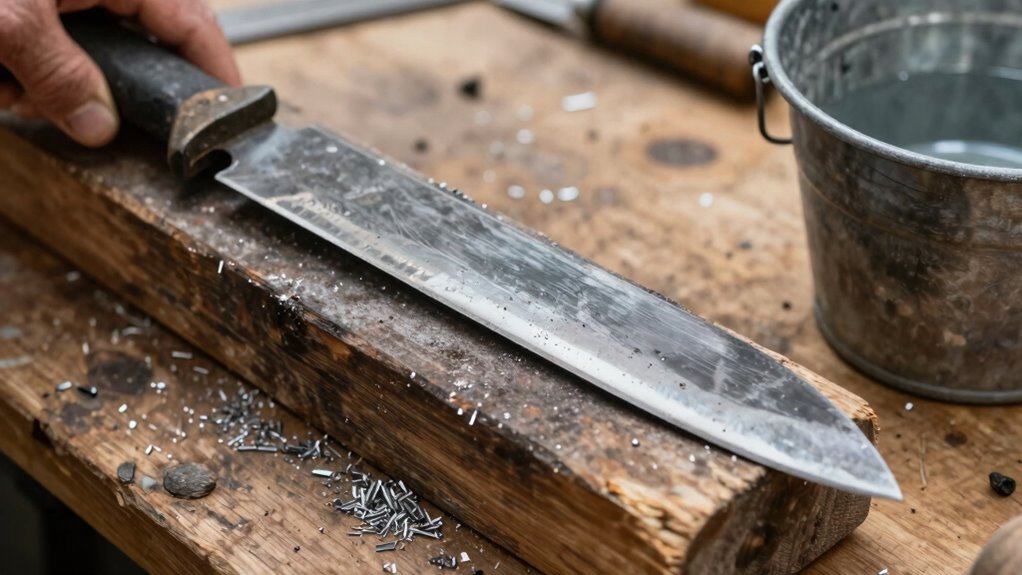
How to Sharpen Shovels and Spades
Sharpening shovels and spades requires the same basic principles as other cutting tools, though their larger size and different blade angles demand specific techniques.
You’ll need a file or sharpening stone that’s at least six inches long. Hold the tool steady and maintain the existing bevel angle, usually between fifteen and twenty degrees. Work from the handle end toward the tip, using long, consistent strokes. Apply even pressure and maintain contact along the entire cutting edge.
Check your progress frequently by running your finger along the blade’s edge. Remove any burrs or wire edges that develop. Keep the blade clean and dry between sharpening sessions.
Regular maintenance prevents excessive dulling and makes future sharpening easier. Your tools will perform better and last longer with proper care.
Restoring Dull Hoe Edges Fast
When hoe edges become too dull for effective garden work, you can restore them quickly with the right approach. Don’t let worn blades slow down your gardening progress.
- Assess the damage – Check if edges are merely dull or have nicks requiring filing first.
- Choose proper tools – Use a mill bastard file or sharpening stone that matches your hoe’s steel type.
- Maintain correct angle – Hold file at 25-30 degrees against the beveled edge while pushing away from your body.
- Test sharpness regularly – Run your thumb along the edge carefully to feel for proper sharpness before returning to work.
You’ll notice immediate improvement in cutting efficiency through soil and weeds once edges are properly restored.
Sharpen Lawnmower Blades Safely
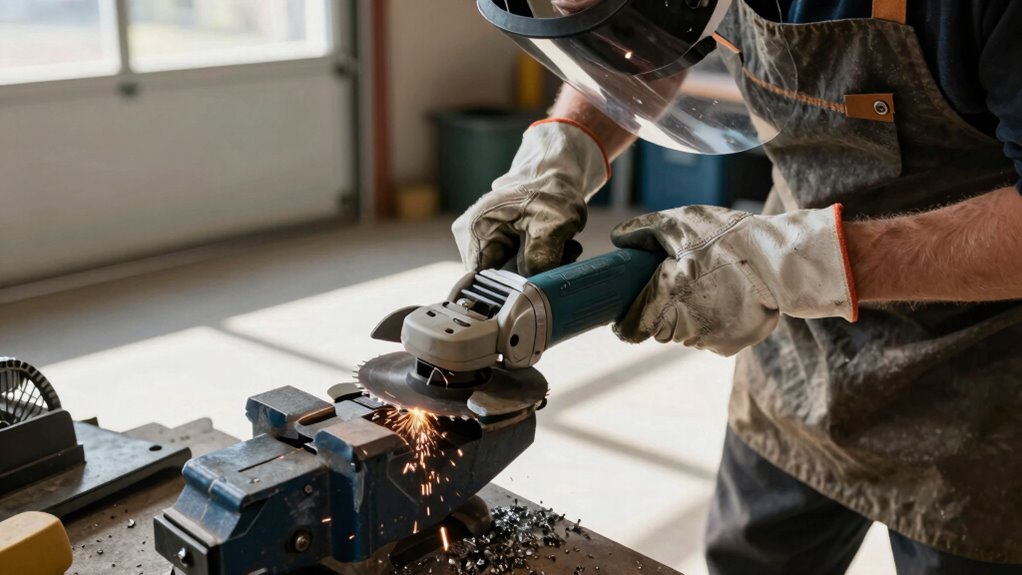
While mowing your lawn may seem straightforward, maintaining sharp mower blades directly impacts both grass health and cutting efficiency. You’ll achieve cleaner cuts that heal faster when blades are properly sharpened.
Start by disconnecting the spark plug for safety. Remove blades using a wrench, then secure them in a vise. Use a metal file or angle grinder to restore the cutting edge at the original angle. Maintain consistent strokes away from your body.
Check for nicks and damage during sharpening. Balance blades by hanging them from a nail; they should sit level. Reattach properly torqued blades.
Sharp blades reduce engine strain, improve fuel efficiency, and create that manicured lawn look you want. Regular maintenance keeps your mower performing efficiently.
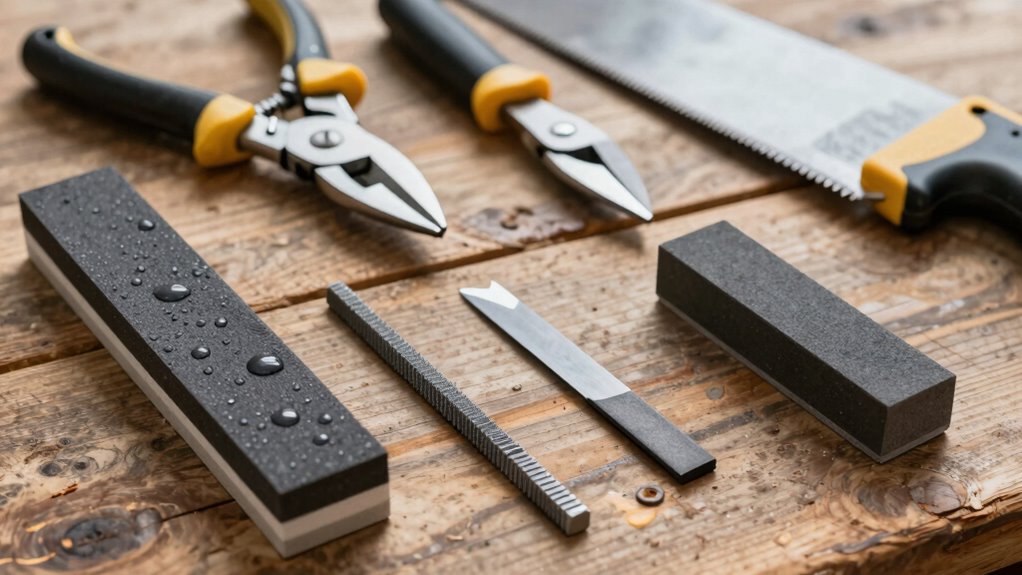
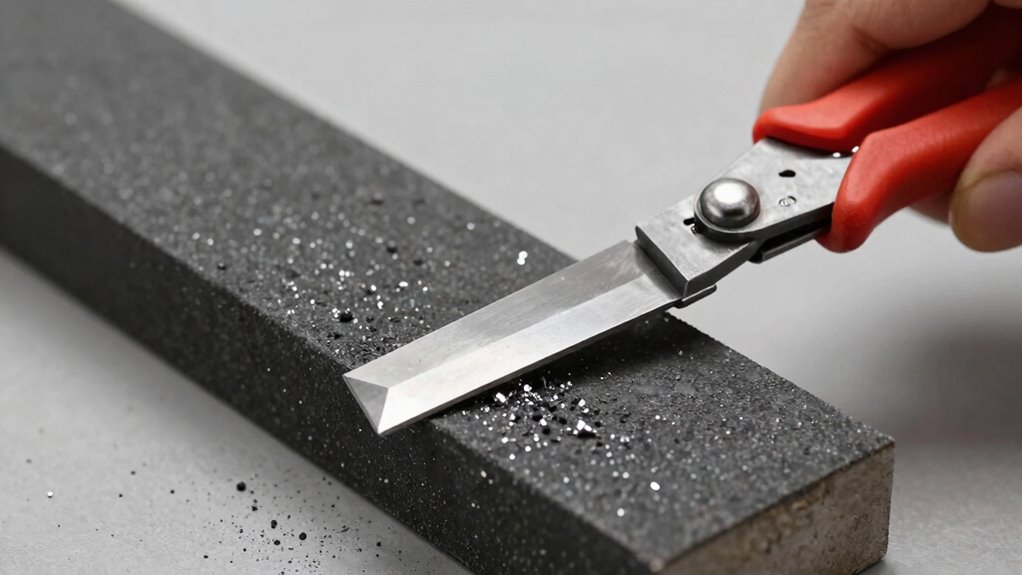
Whetstones vs. Files: Which Should You Use?
You need to choose between whetstones and files based on your tool’s condition and sharpening goals.
Whetstones work best for maintaining sharp blade edges and fine-tuning already-sharp tools, while files handle rough sharpening jobs and heavily dulled edges.
Selecting the right tool depends on whether you’re doing routine maintenance or restoring a completely blunt edge.
Whetstones For Blade Edges
Whetstones offer superior precision for sharpening blade edges compared to files, making them the preferred choice for maintaining your garden tools’ cutting performance.
You’ll achieve razor-sharp edges that slice through vegetation effortlessly.
- Choose the right grit – Start with coarse stones (200-400 grit) for damaged blades, then progress to fine stones (1000-3000 grit) for polishing edges.
- Maintain proper angle – Hold your tool at 15-20 degrees against the stone for maximum sharpness.
- Use consistent pressure – Apply even pressure while moving the blade across the stone in smooth, controlled motions.
- Keep stones lubricated – Use oil or water as lubricant to prevent clogging and guarantee clean sharpening.
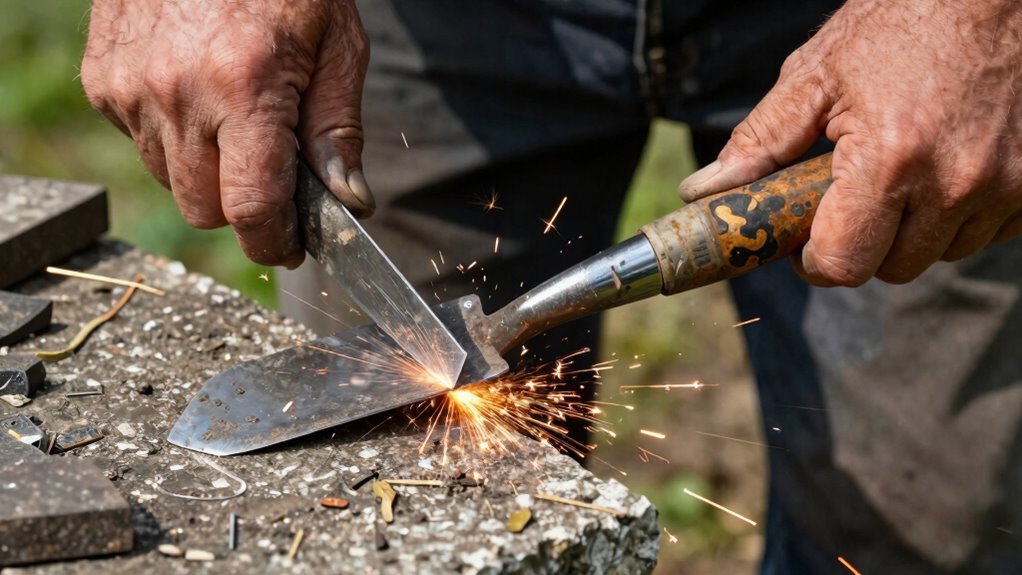
Files For Rough Sharpening
Files handle rough sharpening tasks when blades are too damaged or corroded for whetstones to restore effectively.
You’ll need files for heavy-duty grinding, removing rust, or reshaping severely dulled edges. Unlike whetstones, files work best on damaged metal surfaces where precision isn’t the primary concern.
Choose mill bastard files for general rough work or flat files for smoothing rough spots. Hold the file firmly and stroke away from your body in long, steady motions.
Apply consistent pressure while maintaining even contact across the blade’s edge. Work systematically from coarse to finer grits when possible.
Remember that files remove more metal than whetstones, so use them judiciously. Focus on damaged areas first, then progress to finer sharpening methods once you’ve restored the blade’s basic edge profile.
Choosing The Right Tool
Both whetstones and files play essential roles in garden tool maintenance, but choosing the right one depends on your blade’s condition and sharpening goals.
You need to match your tool to the job for best results.
- Use files for damaged or severely dulled blades – They remove material quickly and restore edge geometry when your tools are in rough shape.
- Choose whetstones for routine maintenance – They provide precise sharpening and maintain existing edges efficiently.
- Consider blade material – Hardened steel responds better to whetstones, while softer metals work well with files.
- Match your skill level – Files are more forgiving for beginners, while whetstones require practice but deliver professional results.
Select your tool based on these factors.
5 Mistakes That Ruin Garden Tool Edges
When you ignore proper maintenance techniques, your garden tools quickly lose their effectiveness. You ruin edges by using incorrect angles during sharpening, which damages the blade’s geometry.
Don’t rush through the process with excessive pressure that creates burrs and nicks. Avoid using wrong grit stones or sandpaper that’s too coarse for your tool’s steel.
You make things worse when you sharpen tools while they’re dirty, forcing abrasive soil and debris into the blade. Never skip cleaning between sharpening sessions.
You’ll damage edges further by using oil or lubricants on dry stones, or by sharpening in wrong directions against the blade’s grain.
Stop storing tools improperly after sharpening. Moisture and poor storage cause immediate dulling.
You belong among gardeners who maintain sharp, effective tools through proper technique.
How Often to Sharpen Each Garden Tool
Regularly maintaining your garden tools guarantees they perform at their best throughout the growing season.
You’ll develop a rhythm that keeps your tools reliable and effective.
- Pruning shears: Sharpen after every 10-15 uses or when you notice stems crushing instead of cutting cleanly.
- Loppers: Maintain their edge every 2-3 months during active pruning seasons, especially when tackling tougher branches.
- Hand saws: Refresh the teeth every 6-8 weeks if you’re doing regular cutting work, or when cutting becomes labored.
- Spades and shovels: Hone the edges 2-3 times per year, particularly before heavy digging projects.
Stay consistent with this schedule and your tools will reward you with better performance.
When to Replace Instead of Sharpen
While sharpening can restore most garden tools to working condition, there comes a point where replacement becomes more practical than continued maintenance.
You should replace tools when blades become too thin from repeated sharpening, losing their structural integrity. Deep cracks, significant rust penetration, or broken handles indicate it’s time for new equipment.
When tools no longer hold an edge after sharpening, or require excessive effort to cut, don’t waste time trying to revive them. Worn-out tools become safety hazards and reduce工作效率.
Professional gardeners know when to let go of old favorites. Trust your instincts – if a tool feels wrong or performs poorly despite proper sharpening, invest in quality replacements that’ll serve you better.
Quick Tips to Keep Tools Sharp Longer
Several simple habits can dramatically extend the sharpness of your garden tools between sharpening sessions.
You’ll find these practices help maintain your tools’ cutting edges while saving you time and effort in the long run.
- Clean tools immediately after use – Remove dirt, sap, and debris before storage to prevent corrosion and dulling.
- Apply light oil coating – Use mineral oil or WD-40 on blades monthly to prevent rust and maintain smooth cutting surfaces.
- Store tools properly – Keep cutting edges protected in sheaths or tool racks to avoid accidental dulling against hard surfaces.
- Avoid cutting hard materials – Don’t use pruners on wire, rocks, or overly tough branches that can damage sharp edges instantly.
Sharpening Safety Tips You Need
You must handle sharp tools carefully to avoid injury.
Always wear safety glasses and gloves when sharpening.
Keep your work area clean and well-lit.
Proper Tool Handling Techniques
Grip your sharpening tools firmly and maintain control throughout the entire process. Proper handling prevents accidents and guarantees effective results every time you work.
- Position yourself securely – Stand with feet shoulder-width apart and maintain stable footing while working.
- Hold tools at correct angles – Keep consistent pressure and positioning to avoid slipping or uneven edges.
- Use both hands effectively – Guide the tool with one hand while controlling the sharpening surface with the other.
- Maintain steady rhythm – Work in smooth, controlled motions rather than rushing through the process.
These techniques create safer conditions and better outcomes. You’ll develop muscle memory quickly, making each sharpening session more efficient.
Master these fundamentals and you’ll join the community of gardeners who take pride in properly maintained tools. Your plants will thank you for the clean, precise cuts.
Wear Safety Gear Always
One essential rule every gardener must follow when sharpening tools is wearing appropriate safety gear without exception.
You should always put on safety glasses to protect your eyes from flying metal shards and debris. Leather gloves provide vital hand protection against cuts and abrasions while maintaining grip control.
Don’t forget steel-toed boots if you’re working with heavy tools overhead.
Your safety gear becomes part of your routine, just like experienced gardeners who make sharpening a regular habit.
Wearing protective equipment shows you’re taking your craft seriously while protecting yourself from preventable injuries.
Remember that rushing through sharpening without proper protection creates unnecessary risks.
Take time to gear up properly before starting any sharpening task.
Secure Work Area Setup
Before sharpening any garden tools, verify your work area is properly secured to prevent accidents and maintain control throughout the process.
A stable, organized workspace keeps you safe and helps you focus on the task.
- Clear your workspace – Remove clutter, debris, and unnecessary items that could cause trips or interfere with your movements.
- Use adequate lighting – Make certain bright, direct light so you can see what you’re doing and avoid slips or misjudgments.
- Secure your tools – Use a vise or clamp to hold tools steady, giving you both hands free for controlled sharpening.
- Maintain dry conditions – Keep your workspace dry to prevent slipping and verify proper grip on tools and equipment.
Manual vs. Power Sharpening for Garden Tools
Manual sharpening gives you precise control over blade angles and removes metal gradually, while power sharpening quickly restores dull edges but requires careful monitoring to avoid overheating.
You choose manual methods like whetstones or files when you want to maintain specific bevels on pruners or chisels. These techniques demand patience but deliver professional results.
Power tools including bench grinders or electric sharpeners work faster for severely dulled blades. However, you must watch temperatures closely because overheating ruins metal temper.
Both approaches have merit depending on your tools’ condition and your skill level. Manual methods suit beginners learning proper techniques, while experienced gardeners often combine both strategies.
You’ll develop preference through practice and tool familiarity.
When to Call a Professional Sharpener
When should you consider hiring a professional sharpener for your garden tools? You shouldn’t tackle every sharpening job yourself. Professional sharpeners bring expertise and specialized equipment that delivers superior results.
- Damaged or severely dull blades require professional restoration that goes beyond basic sharpening stones.
- Expensive tools like Japanese garden knives deserve expert handling to maintain their value and performance.
- Rusty or corroded surfaces need professional treatment to restore proper cutting edges safely.
- Complex blade geometries on specialty tools often exceed what home sharpeners can properly handle.
Professional sharpeners use precise angles and machinery that guarantee consistent, factory-like edges. They understand different steel types and blade compositions better than most homeowners.
When your tools need more than routine maintenance, don’t hesitate to seek professional help. Your tools will perform better and last longer with expert attention.
How to Extend Garden Tool Lifespan
Professional sharpening services can restore your most valuable tools, but regular maintenance keeps them performing at their best between expert visits.
You should clean tools after each use, removing dirt and sap that cause corrosion. Apply light oil to metal surfaces monthly, preventing rust formation. Store tools in dry locations, hanging them properly to avoid blade damage. Don’t leave tools outside overnight or in damp conditions.
Check handles regularly for cracks or looseness, tightening connections before they fail. Replace worn grips immediately to maintain control and safety.
Avoid using tools for purposes they weren’t designed for, like prying or hammering. These simple habits prevent premature wear, keeping your tools reliable and effective. Your investment deserves this basic care routine.
Build Your Sharpening Schedule by Tool
You need to establish specific sharpening routines for each tool type to maintain peak performance.
Your pruning shears require monthly attention, while lawn mower blades need checking every 25 hours of use.
Shovels demand regular edge care after heavy digging sessions to prevent dulling.
Pruning Shears Maintenance Schedule
While pruning shears don’t require daily sharpening like some tools, they do need regular maintenance to perform effectively. You’ll keep your garden looking sharp while ensuring clean cuts that promote healthy plant growth.
- Clean after each use – Wipe blades with rubbing alcohol to prevent sap buildup and disease transfer between plants.
- Sharpen monthly during peak season – Use a fine file or sharpening stone to maintain that precise cutting edge.
- Oil hinges weekly – Apply lightweight machine oil to pivot points preventing rust and ensuring smooth operation.
- Deep clean quarterly – Disassemble completely, soak in solvent, and scrub away stubborn debris that accumulates over time.
Lawn Mower Blade Sharpening Frequency
Just like pruning shears need regular attention, lawn mower blades require their own sharpening schedule to maintain peak performance.
You should sharpen your mower blades every 20-25 hours of use, or roughly every month during peak mowing season. Dull blades tear grass instead of cutting cleanly, causing brown tips and stressing your lawn.
Check your blades monthly by inspecting the cutting edge for nicks and dullness. If you notice uneven cutting patterns or grass blades bending instead of slicing, it’s time for sharpening.
Remove blades carefully, following manufacturer instructions. Use a file or grinding wheel to restore the original angle.
Balance blades after sharpening to prevent vibration. Regular blade maintenance keeps your lawn healthy and your mower running efficiently.
Shovel Edge Care Routine
Although shovels don’t require weekly attention like lawn mower blades, they need regular maintenance to prevent digging difficulties.
You’ll want to establish a consistent care routine that keeps your shovel performing at its best throughout the seasons.
- Monthly inspection – Check for nicks, burrs, or dull spots after each gardening session
- Quarterly sharpening – Use a mill file or sharpening stone to restore the cutting edge
- Seasonal deep clean – Remove rust and debris with steel wool and lubricate the blade
- Annual professional tune-up – Take specialty shovels to a tool sharpener for expert restoration
Your shovel deserves this attention because proper edge care makes every dig easier and more efficient.
Conclusion
What happens when you ignore those dull edges? Your garden tools become dangerous, inefficient weapons that tear through plants instead of slicing cleanly. Don’t wait until frustration mounts and cuts become ragged. Sharp tools transform work into precision surgery—every snip clean, every edge reliable. The question isn’t whether you need sharper tools; it’s why you’re still using yesterday’s dull blades today.
