

Picture your wrenches, hammers, and screwdrivers scattered in a rusty heap after just a few years of neglect. You can avoid that fate by following a simple maintenance routine. Clean tools after each use, apply lubricant monthly, and store them properly. Sharpen blades when they dull and address small problems before they become major repairs. These habits extend tool life markedly while saving you money on replacements. Ready to learn the specific techniques that keep your tools performing like new?
Why Tool Maintenance Cuts Replacement Costs
While you mightn’t realize it, proper tool maintenance directly reduces your long-term expenses by extending each tool’s lifespan. You save hundreds annually when you clean, lubricate, and store tools correctly.
Rust, corrosion, and wear accelerate replacement needs considerably. Regular maintenance prevents these issues entirely. You should sharpen blades, tighten loose parts, and remove debris after each use.
Proper storage protects tools from moisture and damage. When you maintain tools consistently, you avoid costly replacements every few months. Quality tools last decades with care, becoming reliable companions.
You’ll feel confident tackling projects knowing your tools perform reliably. Maintenance builds familiarity with each tool’s condition, helping you address problems early. You develop pride in ownership and craftsmanship.
Proper care transforms tools from disposable items into valuable investments that serve you faithfully for years.
How Often Should You Maintain Each Tool?
Because different tools face varying levels of wear and exposure, you should adjust your maintenance schedule based on each tool’s specific usage patterns and environmental conditions.
Hand tools like hammers and screwdrivers need monthly inspections for cracks or wear.
Power tools require weekly cleaning and monthly lubrication checks.
Garden tools need end-of-season sharpening and oiling.
Kitchen knives benefit from regular honing after each use.
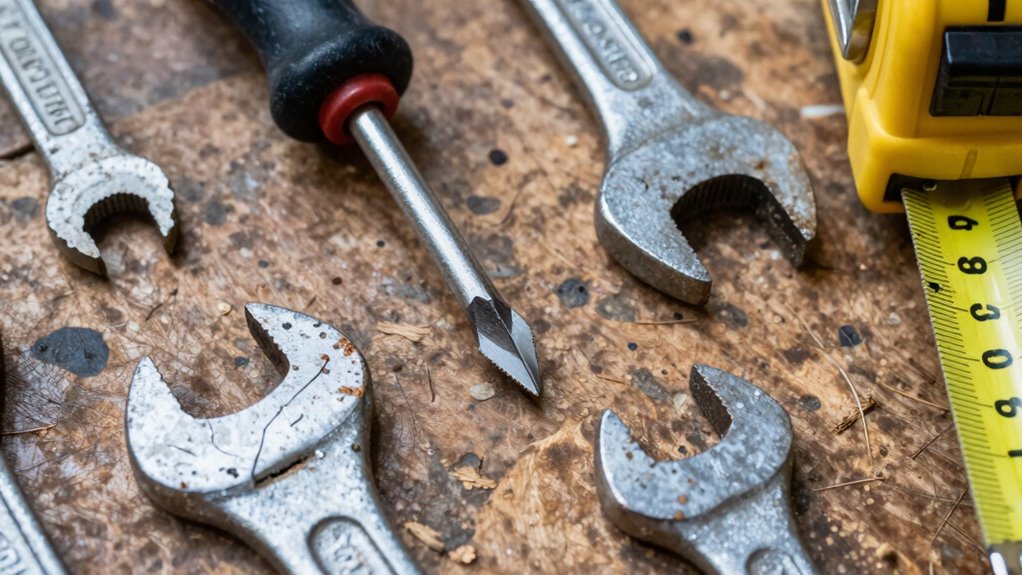
Check sockets and wrenches monthly for corrosion.
Lubricate moving parts on drills and saws every two weeks.
Clean blades and remove rust immediately.
Store tools properly between uses.
Pay attention to manufacturer recommendations, but trust your instincts when something feels off.
Regular maintenance prevents costly repairs and keeps your tools performing reliably for years.
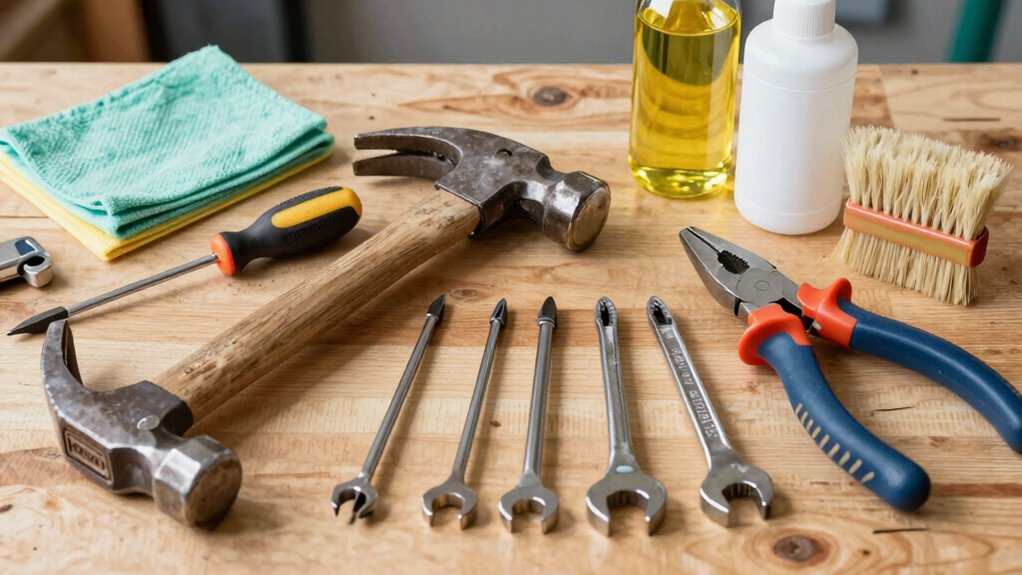
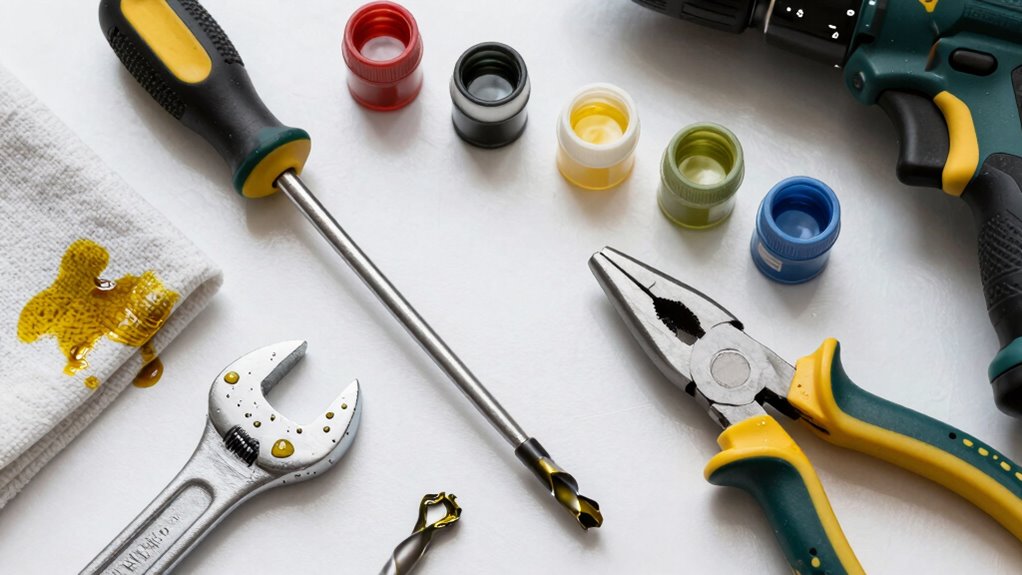
Must-Have Supplies for Routine Tool Care
Several essential supplies form the foundation of effective tool maintenance, and keeping these items on hand guarantees you can perform routine care without interruption.
You’ll need quality lubricating oil to prevent rust and secure smooth operation. Keep fine-grit sandpaper for sharpening blades and removing corrosion. Microfiber cloths help clean tools thoroughly without scratching surfaces. Invest in a good wire brush for removing stubborn debris and rust spots.
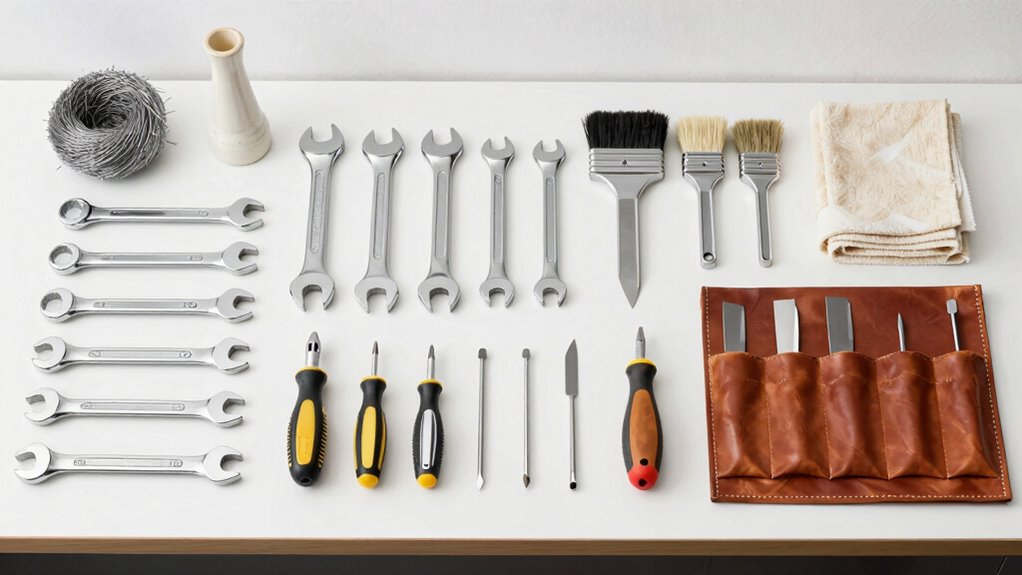
Don’t forget quality screwdriver sets for adjustments and repairs. A bench vise provides stability when working on tools. Keep replacement parts like blades, screws, and handles handy.
Finally, maintain a supply of rust-preventive spray for long-term protection. These supplies guarantee you’re always ready to maintain your tools properly.
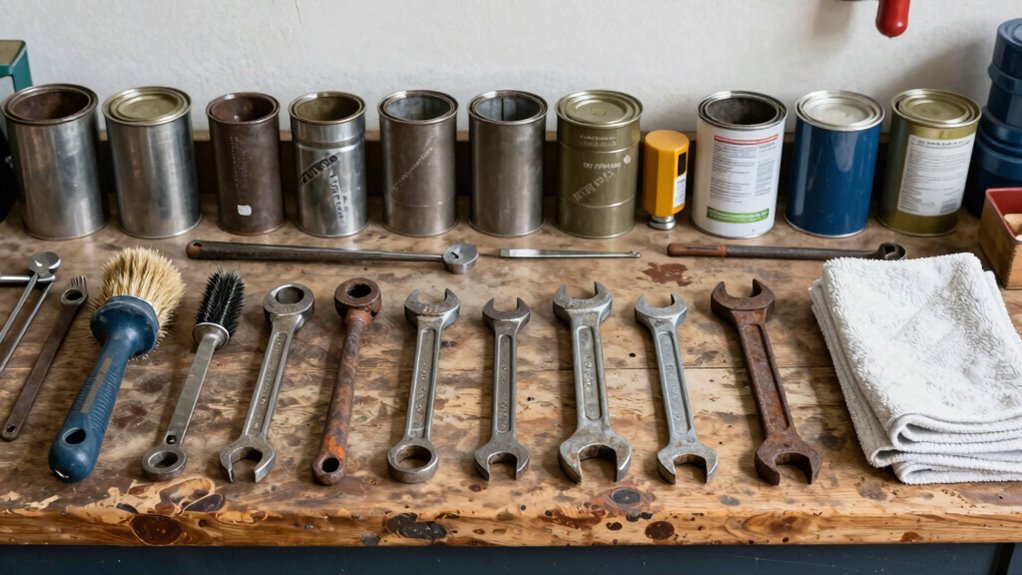
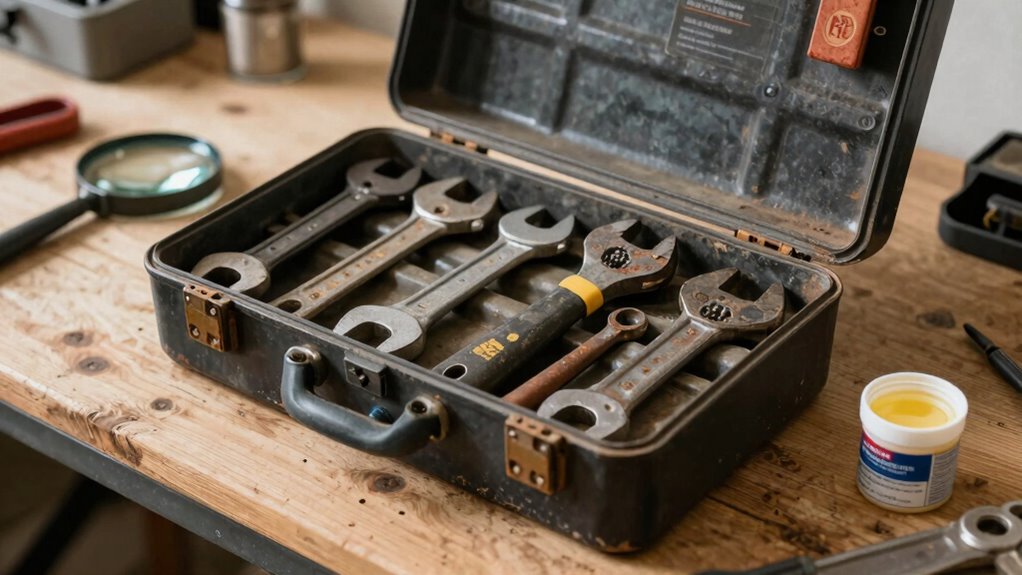
Storing Tools to Avoid Rust and Breakage
Proper storage protects your investment in quality tools and extends their working life considerably. You should keep tools in a dry, climate-controlled environment to prevent rust formation.
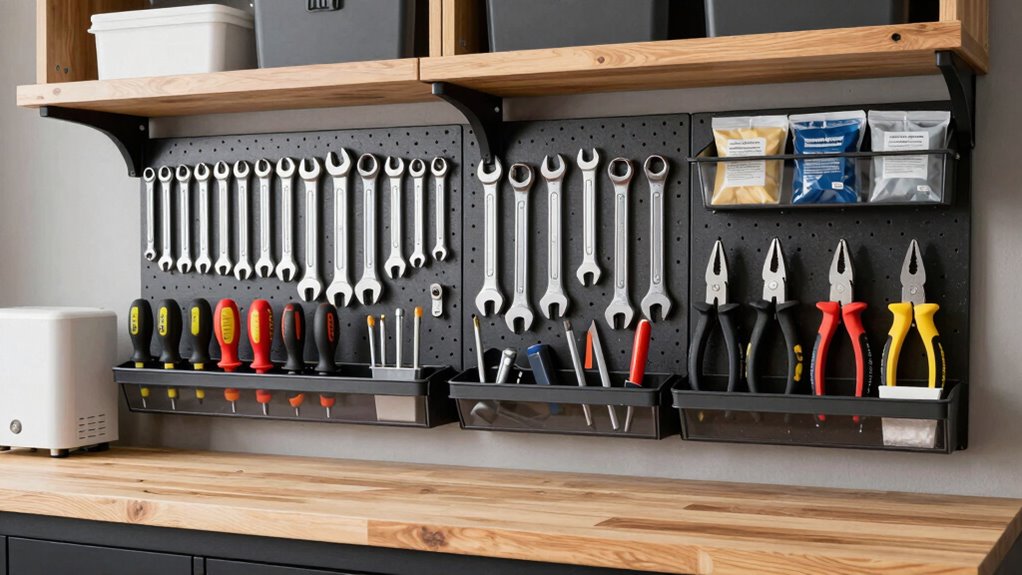
Hang frequently-used items on pegboards or store them in tool chests with removable trays. Don’t overcrowd storage containers – tools need space to avoid banging against each other and causing damage.
Apply a light coat of oil on metal surfaces before storage. Use moisture-absorbing packets in toolboxes during humid months.
Store power tools in their original cases whenever possible. Keep sharp edges protected with blade guards or wrapped in cloth. Organize tools by type and frequency of use. Label storage compartments for quick identification.
Clean tools thoroughly before putting them away. Check stored tools monthly for signs of corrosion or damage. Good storage habits prevent costly replacements.
When to Sharpen or Swap Out Blades
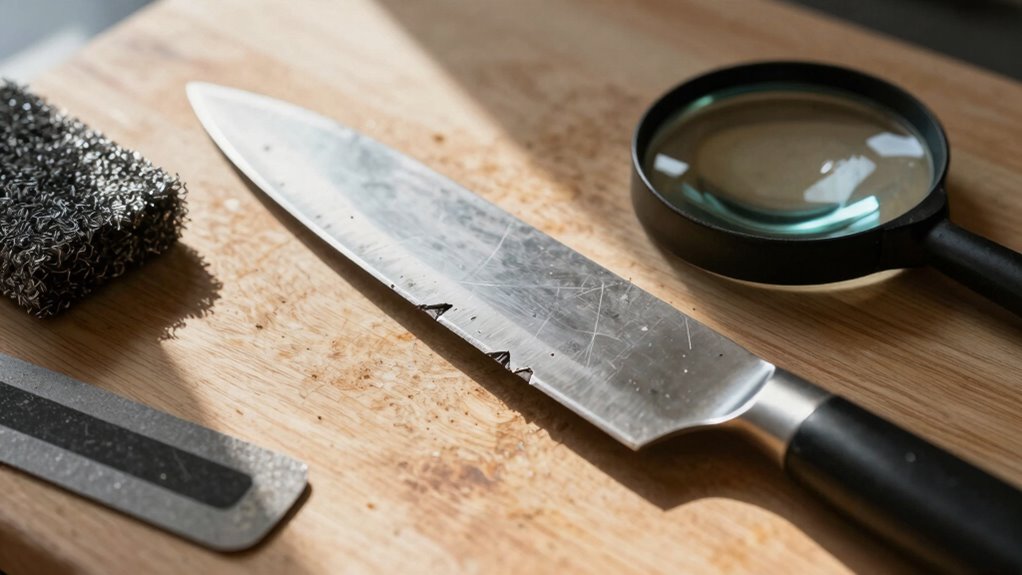
You should sharpen or replace blades when you notice specific signs of wear that affect performance. Dull blades require more force to cut, increasing accident risks. Visible nicks, chips, or rounded edges indicate it’s time for action.
If your tools struggle through materials they once handled easily, don’t ignore these warning signs. Wooden handles that feel loose or cracked also signal replacement needs. Bent blades won’t cut straight, compromising your work quality.
Regular inspection prevents unexpected failures during projects. Keep spare blades handy so you’re never caught off-guard. Remember, sharp tools are safer tools.
When blades become too worn for effective sharpening, replacement is cheaper than risking injury or ruined materials. Your tools depend on you to maintain them properly.
How to Check for Wear Early
Regular inspections help you catch wear before it becomes a safety hazard or ruins your work. Check blades for nicks, cracks, or dull edges that compromise cutting performance.
Examine handles for loose grips, cracks, or splinters that could fail during use. Look at moving parts for excessive play or stiffness that indicates worn bushings or pivot points.
Inspect electrical cords for fraying, cuts, or exposed wires that create shock risks. Feel surfaces for rough spots or corrosion that suggest material degradation.
Listen for unusual sounds like grinding or squeaking that signals internal wear. Don’t overlook small details like loose screws, worn washers, or damaged protective coatings.
Early detection prevents costly replacements and keeps your tools working reliably. Make these checks part of your regular routine.
Best Lubricants for Every Tool Type
You need to match the right lubricant to each tool type to prevent rust and guarantee smooth operation.
Metal tools require thin oils that won’t gum up moving parts, while woodworking equipment needs specialized oils that won’t stain your projects.
Garden tools demand heavy-duty lubricants that can withstand outdoor conditions and prevent corrosion from moisture and dirt.
Metal Tools Lubrication Guide
Proper lubrication keeps metal tools functioning smoothly and extends their lifespan considerably. You should use 3-in-1 oil for general-purpose tools like wrenches and pliers.
Apply light machine oil to hinges and pivot points regularly. Grease heavily-loaded tools such as vices and clamps with lithium-based grease. Wipe excess lubricant away immediately to prevent dirt accumulation.
Store lubricated tools in dry places to avoid moisture damage. For cutting tools, use specialized cutting lubricants that won’t gum up during operation. Clean tools thoroughly before applying fresh lubricant.
Check moving parts monthly and reapply as needed. Metal tools that feel stiff or sluggish need immediate attention. Don’t wait until they seize completely.
Woodworking Equipment Oil Selection
Three key factors determine the right lubricant for your woodworking equipment. Viscosity matters most – lighter oils work better for delicate hand tools while heavier oils protect power tools.
Your second consideration is application method. Wipe-on oils prevent buildup on cutting surfaces, while penetrating oils reach internal mechanisms. Frequency of use matters too.
For everyday hand tools like chisels and planes, choose light mineral oil or paste wax. Power tools with motors need heavier lubricants. Table saws and jointers require specific bearing greases.
Don’t use cooking oils – they turn rancid. Synthetic oils offer superior protection but cost more. Always check manufacturer recommendations first.
Proper lubrication prevents rust, reduces friction, and extends tool life considerably.
Garden Tool Maintenance Tips
While garden tools don’t require the same precision lubrication as woodworking equipment, selecting the right oils and greases for each tool type greatly extends their lifespan and maintains cutting efficiency.
You should use lightweight oil like 3-in-1 oil for pruning shears and loppers, wiping excess off afterward. Heavy-duty grease works best for shovels and spades, protecting metal from moisture and soil abrasion.
Apply marine-grade grease to wheelbarrow wheels and moving parts exposed to wet conditions. For hand tools, squeeze a few drops into pivot points weekly.
Clean tools before lubricating, removing dirt and debris first. Store tools in dry places after oiling.
Your garden tools will repay you with years of reliable service when you give them proper lubrication attention.
Should You Fix or Replace Worn Tools?
You need to evaluate whether repairing a worn tool makes sense by examining its current condition and comparing repair costs to replacement prices.
Consider your own skill level and the complexity of the fix before deciding if you can handle the repair yourself or should hire a professional.
Making this decision requires weighing the tool’s remaining lifespan against the time and money you’ll invest in either fixing or replacing it.
Assessing Tool Condition
Most tools will show signs of wear long before they become completely unusable, and recognizing these early warning signs can save you both time and money.
You should regularly inspect handles for cracks, loose grips, or splinters that compromise your hold. Check metal components for rust, corrosion, or pitting that weakens structural integrity.
Examine moving parts for excessive play, sticking, or grinding noises during operation. Look for dull cutting edges, bent blades, or misaligned jaws that affect performance.
Worn screws, bolts, or fasteners indicate potential failure points. You’ll want to identify these issues early rather than waiting until complete breakdown.
Pay attention to tools that require increasing force or produce inconsistent results. These visual and functional cues help you determine when intervention becomes necessary.
Regular assessment prevents unexpected failures during essential projects.
Cost-Benefit Analysis
When tools show signs of wear, deciding whether to repair or replace them requires careful consideration of several factors.
You should evaluate the repair costs against the tool’s current value and your intended usage frequency. If repair costs exceed fifty percent of a new tool’s price, replacement often makes more sense financially.
Consider your skill level and available time for repairs too. Does this tool perform critical functions you’ll continue needing?
Quality tools typically justify higher repair investments compared to cheap alternatives. Check if replacement parts are readily available versus lengthy wait times.
Your decision should factor in long-term reliability expectations. Sometimes replacing worn tools prevents future breakdowns and maintains your productivity efficiently.
Skill Level Required
Your ability to repair tools effectively depends on understanding what skills are actually required for each type of fix.
Basic maintenance like cleaning, oiling, and sharpening requires minimal expertise most people can handle. However, replacing electrical components, welding broken parts, or rebuilding complex mechanisms demand advanced technical knowledge.
Don’t attempt repairs beyond your skill level – you’ll waste time, money, and potentially create safety hazards. Simple hand tools rarely need professional repair, but power tools with motors or electronic controls often do.
When you’re unsure, consult manufacturer manuals or watch tutorial videos specific to your tool model.
Consider joining local DIY groups or maker spaces where experienced members share knowledge. Building repair skills gradually through practice helps you avoid unnecessary replacements while saving money long-term.
Conclusion
So there you have it—proper tool maintenance isn’t rocket science, but it’ll save you from becoming that person who buys the same drill twice because you let the first one rust into a paperweight. Keep ’em clean, oil ’em up, and store ’em right. Your wallet will thank you, and your tools won’t stage a rebellion in your garage.
